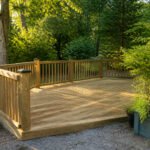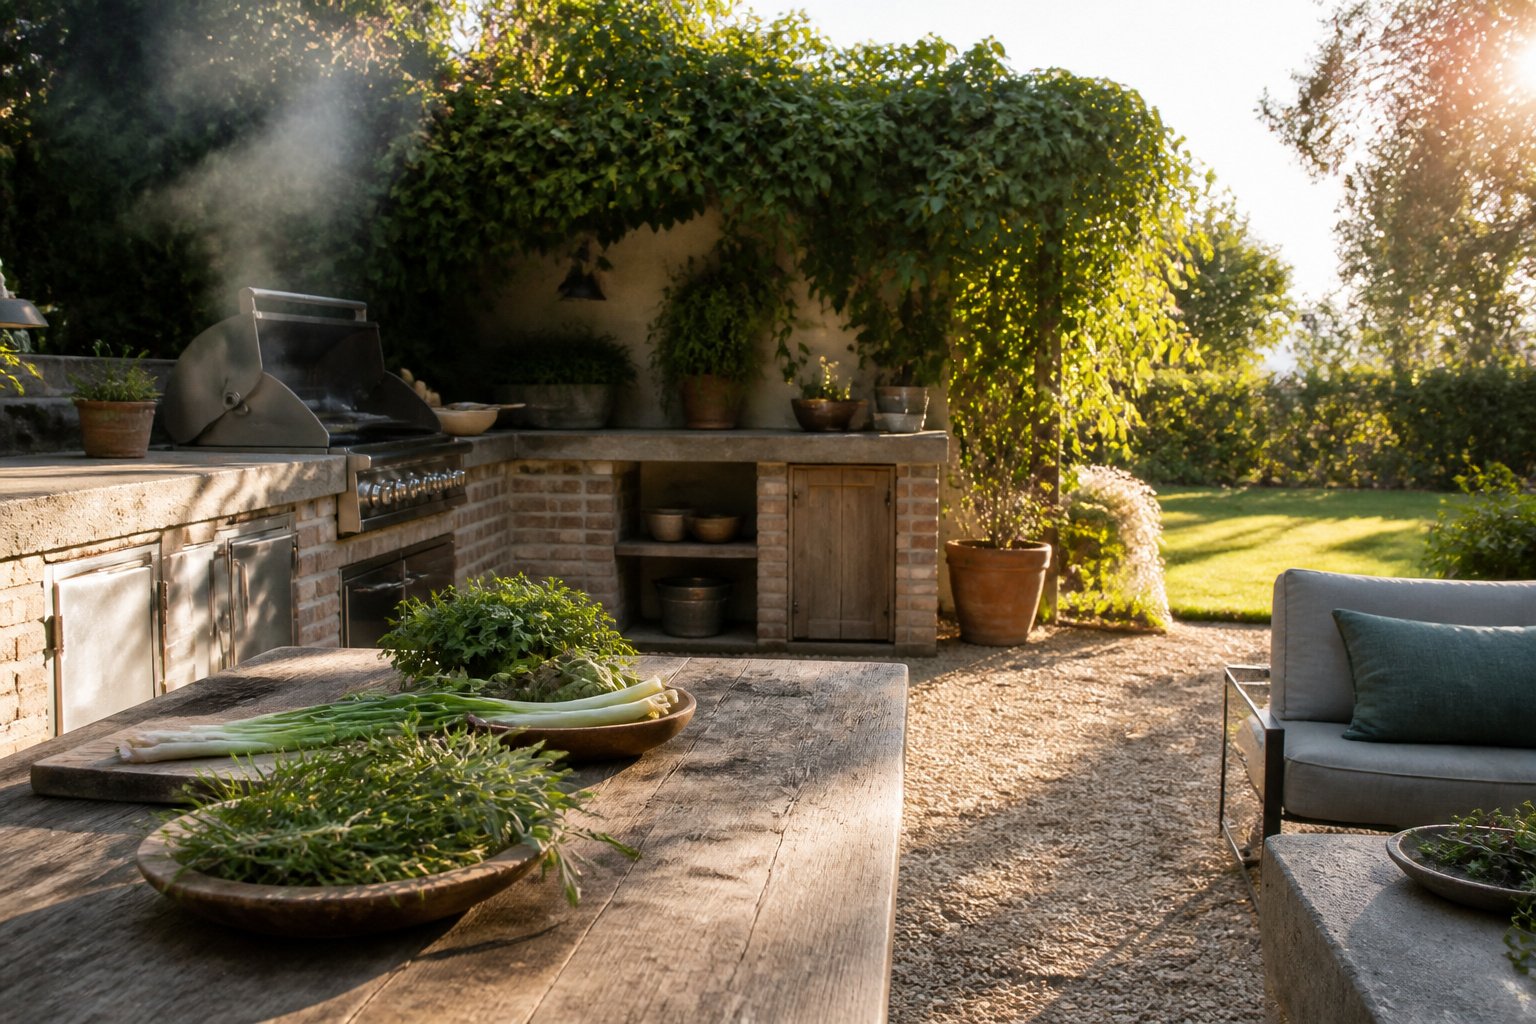
Outdoor kitchens range from a $5,000 grill island squeezed onto a 10-by-12 patio to a $20,000 custom build with a pizza oven and bar seating, and the deciding factor is rarely budget alone.
It is how much walking space you are willing to surrender to the cooking triangle, because a U-shape that looks right on paper can eat half the usable square footage once you stand in it.
The mistake I keep seeing, and made myself once, is measuring the appliances without measuring the person trying to move between them.
1. Small Outdoor Kitchens

A compact outdoor kitchen on a patio or small yard under 200 square feet lives or dies by how tight you keep the cooking triangle.
Two straight islands set against a wall beat a U-shape every time, since that layout needs at least 80 square feet before you even add breathing room.
I learned that the hard way measuring a friend’s 10-by-12 patio where a U-shaped sketch ate half the walking space.
A 5-foot grill island runs $5,000–$6,000, which is the entry point for most ready-to-assemble setups.
On a $500–$800 annual yard budget, that means phasing: start with the grill base and countertop this year, add refrigeration or storage modules the next, and run utilities once rather than twice.
Skip the sink if your house wall is within hose reach; skip side burners if you already cook inside. The appliances you leave out buy back square footage you cannot build.
Recommended Products

Exceptional Multi-Functionality: This outdoor kitchen island functions as a grill cart, outdoor table with storage, outdoor bar, serving cart, food prep station, or pizza oven stand. Its sturdy construction makes it suitable for the patio, backyard, garage, or even indoor kitchen use

Modular Outdoor Kitchen Island System: As part of the Feasto KT2435 Series, this outdoor kitchen unit seamlessly pairs with matching sink, storage, and prep station modules. Mix and match components to build a fully customized outdoor kitchen for your patio or backyard, and expand your cooking setup over time without replacing the entire unit

[Ultimate Dual-Cooking Modular Outdoor Kitchen Set] Transform your backyard into a professional culinary hub. Designed as a premium Modular Outdoor Kitchen Set, it seamlessly joins a griddle cart and a kamado stand into one massive island, offering an expansive workspace for the ultimate dual-cooking experience.
2. Outdoor Kitchen With a Pizza Oven

A pizza oven turns an outdoor kitchen from a grilling station into a place people linger around.
Wood-fired models give the crisp, leopard-spotted crust you get at a Neapolitan place, but they need twenty to forty minutes to heat up and someone has to feed the fire.
Gas ovens fire in ten minutes and hold steady, which is why most weeknight cooks end up using them more than they expect.
The 36-inch grill paired with a pizza oven is the combination that fits most families. That width gives you four burners plus a side shelf without swallowing the whole patio.
Place the oven downwind of your main seating, or the smoke drifts into people’s faces and the radiant heat bakes guests instead of just the pizza.
I learned that the hard way at a friend’s place where the oven sat at the end of the counter facing the dining table; we all roasted through dinner while he turned pies.
Going from grill-only to grill-plus-oven usually doubles the appliance budget. The oven itself runs more than a mid-range grill, and you need a deeper counter or a dedicated stand to handle the weight and the clearance requirements.
For a small yard, that footprint matters as much as the dollars.
Recommended Products

Reversible&Versatile: A budget-friendly interchangeable reversible mat offers color and personality to your indoor outdoor space without distracting from other decoration. Boho rug with modern, versatile geometric design could be a great outdoor patio decor, balcony decor.

Reversible&Versatile: A budget-friendly interchangeable reversible mat offers color and personality to your indoor outdoor space without distracting from other decoration. Boho rug with modern, versatile geometric design could be a great outdoor patio decor, balcony decor.

【Built to Last】Designed for the outdoors, this fade-resistant area rug features UV-treated material that helps resist sun damage. The bound edges with thermoplastic reinforcements reduce fraying or splitting, making it a reliable option for any outdoor environment - rain or shine, heavy use or pets.
3. Modular Outdoor Kitchens

Prefabricated cabinet and appliance units that bolt together have become the practical entry point for most backyard kitchens I’ve priced out.
The 20–40% labor savings from assembling the frame yourself rather than paying for a custom build is the headline figure that matters, and it holds up across the quotes I’ve seen.
On a $20,000 professionally built kitchen, that gap runs $1,500–$6,000 in labor fees alone, enough to cover appliances or a season’s worth of patio furniture.
If the budget stretches across multiple seasons, the base cabinets and framework should come first. They anchor the layout and let you cook on a temporary grill or portable burner while you save for the built-in appliances.
Countertops and the sink can wait a year without stopping use.
Weather-resistant materials are where these kits separate into two tiers. Powder-coated stainless steel frames and marine-grade polymer cabinets handle rain and sun without the warping that ruins particleboard units after two wet seasons.
The better kits use them; the cheaper ones don’t, and the replacement math favors spending more upfront on the shell.
4. L-Shaped Outdoor Kitchens

An L-shaped outdoor kitchen puts the hot zone on one wing and cold prep on the other, which keeps two cooks from dancing around each other when the grill is going and someone is still chopping.
The shape also backs naturally against a house wall or fence line, so you are not burning patio space on circulation behind the cook.
The shorter leg is the one to give to prep, not to a second burner or side sear station.
That is where you want the counter depth for a cutting board and the landing space for platters coming off the fire. The longer leg carries the heat: grill, maybe a burner, and the tools that hang above it.
Plan at least 48 inches of clear counter on each leg or the person working the salad ends up in the smoke stream.
I have drawn this layout for narrow yards where a straight run would force the cook to face the fence and talk to no one.
The corner of the L becomes the hinge, and if you angle the grill slightly toward the patio, the cook stays in the conversation without blocking the workspace behind.
A 6–7 foot span on each wing is enough for a compact setup; much shorter and the triangle collapses into a single crowded corner.
Recommended Products
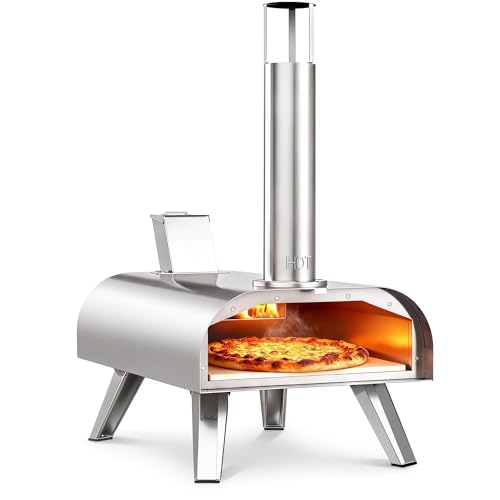
【Premium & Safe Stainless Steel】Outdoor pizza oven is constructed with high-quality stainless steel. This sturdy and compact oven is safe for cooking all types of foods
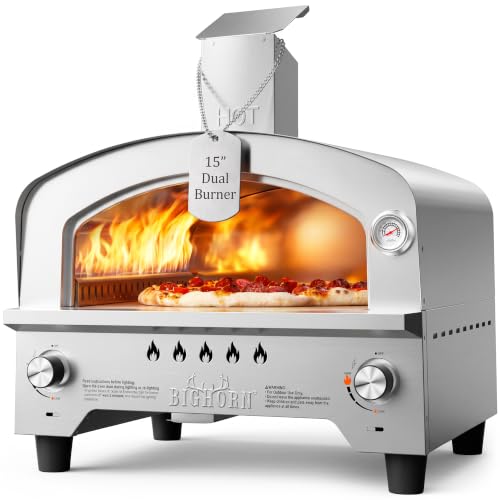
【Dual Side Burner】Powered by dual-side burners (23,000 BTU), this gas pizza oven heats up to 750°F in 10 minutes, reaching up to 1070°F at maximum. The arc-shaped chamber ensures even heat circulation, allowing you to cook perfect pizzas in 60 seconds—no rotation needed

【Premium & Safe Stainless Steel】Outdoor pizza oven is constructed with high-quality stainless steel. High temperature resistant coated stainless steel shell offers optimal heat retention. This sturdy and compact oven is safe for cooking all types of foods
5. Outdoor Kitchens With Bar Seating

A counter overhang is what turns a cook surface into actual bar seating. A 12-inch overhang works for stools with no back, while a 15-inch overhang gives you room for backed stools and knees that actually fit.
Anything less and guests perch at the edge like they’re waiting for a bus.
Where you place that bar matters more than most people think. Smoke from the grill drifts toward the prevailing breeze, not straight up, and grease splatter carries farther than you’d expect.
I put the bar on the return side of an L-shaped run, not the working leg, so guests get the social view without the exhaust. Guests can face the cook or face away; both layouts have supporters.
Facing the cook keeps conversation alive while you work, but facing outward gives them the yard or the sunset and gives you a break from performing.
For a small space, the facing-cook layout wins because it keeps the footprint tight; for a roof deck or a view, the outward layout is the point of being outside at all.
Recommended Products

NOTE: Please measure and confirm the bulb size of the original bug zapper before purchasing.
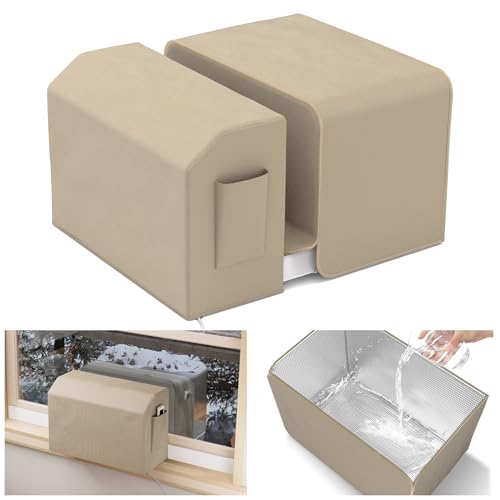
【Covers Kit for Indoor and Outdoor Unit】Window air conditioner cover kit comes with a outdoor ac cover & indoor cover.window ac cover can provide comprehensive protection for your u shape indoor and outdoor air conditioner

This cover sets is designed to fit for all midea U shaped air conditioner 8000/10000/12000 BTU,Please don't hesitate if you need it.
6. Covered Outdoor Kitchens

A roof over your outdoor kitchen buys you months of usable season, but the structure you choose shapes everything that follows.
Open-sided pergolas filter sun and light rain, yet they leave appliances and countertops exposed to blowing storms and never quite stop the humidity that warps cabinet joints.
Full enclosures with three or four walls and a solid roof, like a galvanized metal cover, trap cooking smoke and demand ventilation planning, but they let you grill through actual weather.
The permit reality is worth counting before you fall in love with either. Most jurisdictions run $220–$500 for a covered structure attached to the house, and that is only the filing fee.
Inspections can add weeks if the cover changes your home’s roofline or electrical load.
What changed my mind about materials came after watching a stone countertop under a pergola for two seasons. The surface never fully dried between spring rains, and the sealer failed where water pooled.
Covered but open-sided means teak, concrete, or porcelain tile rated for freeze-thaw; full enclosure opens up wood and softer stone because the air stays drier.
Appliances last longer under any cover, but only if you still pull the grill in during hard freezes or buy covers for the off months.
Recommended Products

Note: Products will be packed into two parcels.
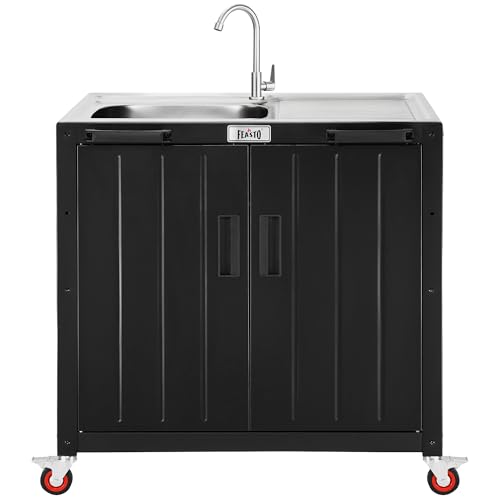
Grill-Side Prep Station: Never leave the grill while cooking. This all-in-one sink station combines a spacious countertop and a deep 6.3" sink right beside your grill—perfect for rinsing ingredients, washing hands, or cleaning tools on the spot. From prep to cleanup, everything stays efficient and uninterrupted. It's also designed for food washing, garden cleaning, or utility use—adapting easily to both outdoors and indoors

Extension of personal style: Outdoor kitchens offer an opportunity to extend personal style and design preferences to the outdoor living space, creating a central gathering point during social events and gatherings.
7. Outdoor Kitchen Islands

Freestanding outdoor kitchen islands anchor a yard without tying you to the house wall, which matters when the kitchen window sits three feet off the ground or the patio door opens where you need counter space.
What runs underneath matters more than the surface. Gas, electric, and water lines cost more than the island itself, and trenching across lawn or pavers adds days of labor you do not see in the catalog price.
Five-foot islands dominate the market because that is the reach most people cook within. Wider slabs leave the back half for storage you barely open; narrower ones crowd a grill and a cutting board into constant collision.
I have measured my own stride at the counter, and five feet is where I stop leaning.
The access panel is the detail first-timers forget. You need a removable face or hinged door to reach shutoffs and connections without sliding the whole unit away from the wall.
Plan the panel on the side you can actually stand on, not the one pressed against fence or hedge. I have watched a neighbor dismantle half his stone facing because a winter freeze cracked a valve he could not reach.
Recommended Products
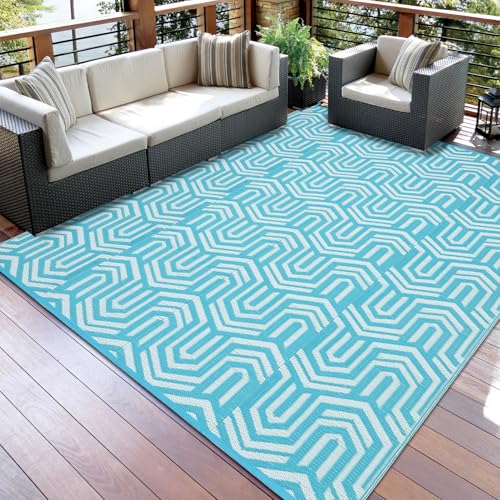
【Built to Last】Designed for the outdoors, this fade-resistant area rug features UV-treated material that helps resist sun damage. The bound edges with thermoplastic reinforcements reduce fraying or splitting, making it a reliable option for any outdoor environment - rain or shine, heavy use or pets.
Reversible&Versatile: A budget-friendly interchangeable reversible mat offers color and personality to your indoor outdoor space without distracting from other decoration. Boho rug with modern, versatile geometric design could be a great outdoor patio decor, balcony decor.

REVERSIBLE MATS: With timeless design, this plastic patio rug is elegant as it is functional, use on your patio with outdoor furniture and accessories to show off your personal style.
8. Grilling Stations

A 36-inch grill covers most family cooking without eating the whole patio.
Kevin Cunningham, who builds outdoor kitchens in Geneva, Illinois, calls it the standard for a reason: enough grate for a spread of burgers and vegetables, not so wide that it dominates a small yard.
What separates a grilling station from a grill on wheels is the stuff wrapped around it.
You need 18 to 24 inches of prep surface on at least one side, a drawer or hook strip for tools within arm’s reach, and a trash pull-out or open bin nearby.
Skip any of these and you are walking back to the house with greasy tongs or a cutting board balanced on your knee.
The station works when your cooking stays simple: direct grilling, maybe a rotisserie if the unit has one. It leaves you wanting once you start saucing at the stove, rinsing produce, or chilling beer.
At that point the single appliance becomes the bottleneck, and the patio starts collecting the same indoor-kitchen clutter you built outside to escape.
Recommended Products

Big Capacity - Pizzello outdoor oven has 288 square Inch of total interior cooking area, which is capable of cooking 2 pizzas at the same time, or 2 roasting tins together. The middle rack can be removed so you get a full space to accommodate a whole chicken.
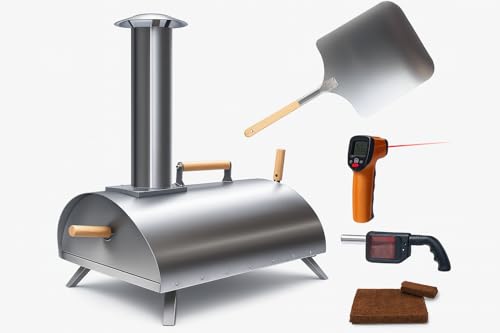
VERSATILE FIT: Designed to fit standard outdoor setups for camping, tailgating, patios, and backyards

🍕Large 2-Layer Cooking Capacity - Pizzello 16-inch outdoor pizza oven provides more rich cooking space than 12 inches. It features a 2-layer design, allowing you to cook 16" pizza and grill steak, fish, or vegetables simultaneously. In addition, the center cooking rack is removable to accommodate more oversized food items, even a whole turkey!
9. Outdoor Dining Areas

The eating zone lives or dies by its distance from the grill.
I keep mine at least 10 feet from the flame, far enough that smoke doesn’t chase guests off their chairs but close enough that the cook isn’t isolated from the conversation.
Any farther and the kitchen becomes a satellite you stop visiting; any closer and every burger comes with a side of watering eyes.
Surface choice matters more out here than it does indoors. Composite countertops hold up against both red-wine spills and freeze-thaw cycles without the sealing ritual stone demands.
For flooring under the table, porcelain tile rated for exterior use cleans easier than poured concrete and won’t spall after the first hard winter.
The Pioneer Woman’s tile-heavy patios look festive, but I stick to muted, large-format pieces that hide the crumbs and ash I actually produce.
A household grilling twice a week already owns the habit. The dining area just gives that habit a destination worth the trip.
Without it, you’re standing at the grill with a paper plate. With it, the kitchen justifies its footprint and the yard gets used the way you imagined when you sketched it on a napkin in March.
Recommended Products

HOT NEW FEATURES – A custom designed fuel tray that maximises airflow and delivers a powerful blast of searing flame allows the Ooni Karu 12 pizza oven to maintain the ultra-high temperatures – load it up with real wood or charcoal, with no excess ash to clean

【Sturdy Design For Tough Task】 Stainless steel with anti-corrosion coating, perfect for placing a pizza oven pizza oven and pizza oven accessories, portable grill or griddle; Also creating ample workplace for outdoor cooking, kitchen or serving area with an easy to clean finish. The load capacity of the table top is 440 lbs and the shelves are 100 lbs.
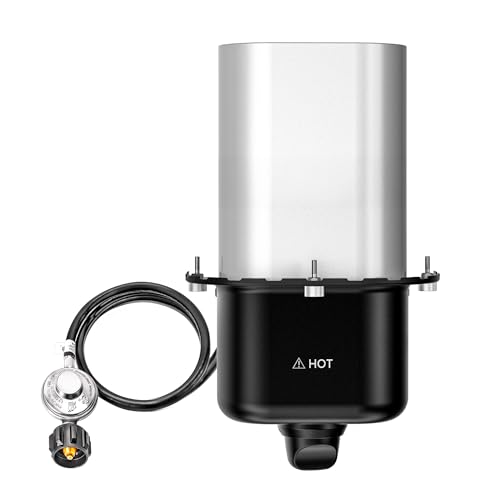
【Effortless Cooking】Fits BIG HORN OUTDOORS 12 inch pizza oven, transforming your baking experience with our gas burner! Simply connect the burner to the rear of your gas pizza oven for easy, low-maintenance cooking that delivers delicious results every time
10. Outdoor Kitchens With Refrigerators

An outdoor refrigerator is the point where a grilling station becomes a kitchen you actually cook in. You stop running inside for condiments, for marinating meat, for another cold drink while the fire is hot.
Outdoor-rated units run $500 to $1,500, and the price gap matters.
Cheaper models are compact fridges with basic seals; spend more and you get compressor systems rated for 100-degree ambient heat and proper ventilation so the motor does not burn out in July.
Indoor refrigerators fail fast outside because they are not built to shed heat in hot air. The compressor overworks, the seal warps, and you are looking at a repair or replacement before the second summer ends.
Outdoor units use thicker insulation, sealed electrical components, and sometimes a front-venting design that lets them sit in a cabinet without overheating.
A refrigerator in an outdoor kitchen is permanent once it is in. A refrigerator needs a dedicated electrical circuit, weather protection, and a fixed spot in your layout that you will still want five years from now.
That convenience locks you into a configuration. For a small patio kitchen you might rebuild seasonally, the cost and commitment can outweigh what you get back.
For a built-in counter with a grill that never moves, the refrigerator earns its place fast.
Recommended Products

【Professional-Grade Material】The built in griddle is made of 304 stainless steel, a high-quality material that is known for its durability and resistance to corrosion and rust; The quality griddle is also a sleek, modern, and stylish addition to your backyard or patio;

3 ATTACHMENTS FOR ALL YOUR CLEANING NEEDS- Allows you to reach high vaulted ceilings and dust ceiling fans high ceiling duster. Very much user friendly. You can use it with an ease and clean your ceilings, high corners etc.

Heavy-Duty Small Sink for Multi-Scenes: Lordear 15x17 Inch Outdoor Kitchen Sink is crafted from 16-gauge T304 stainless steel, ensuring exceptional durability and long-lasting performance—ideal for the frequent use of small sinks in diverse scenarios. Its commercial-grade brushed finish boosts scratch resistance, while the 3mm thick noise-reducing rubber pad and anti-condensation coating work in tandem. This robust design makes it perfect for both indoor and outdoor small sink use cases, including RVs, home bars, outdoor BBQ areas, and compact kitchen prep stations.
Layout and Proximity

Most designers I follow land the outdoor kitchen 10 to 20 feet from the house door.
Inside that range, the grill stays close enough that you will actually fire it up on a Tuesday; outside it, hauling trays and ice buckets turns cooking into a workout.
I learned the hard way that too close creates its own problems. My first setup sat barely six feet from the back door, which sounded convenient until every guest cut through the cooking zone to reach the lawn.
The traffic flow never settled; someone was always dodging a hot grate or a splattering skillet.
The indoor kitchen matters too.
A landscape designer I spoke with pointed out that the outdoor station should sit logically between your indoor prep space and your outdoor dining table, so you are not trekking a triangle every time you need a forgotten ingredient.
In a narrow yard, that logic may decide the placement for you: a long rectangle forces a straight-line layout whether you wanted one or not, while a square plot gives room to cluster the house, grill, and table in a tighter circle.
The dining table itself needs breathing room. Crowd it right against the cooking counter and guests eat in the smoke plume; park it too far and the food arrives cold.
A few extra feet of counter between cook and table solves both, which is why I now budget space for a landing zone even when every square foot hurts.
Weather-Resistant Materials

Stainless steel grades matter more than the showroom finish. 316 stainless holds up within a mile or two of salt water; 304 works fine inland and costs noticeably less.
I learned that distinction the hard way after watching a neighbor’s coastal island corrode through in three seasons while mine, twenty minutes inland, stayed clean on 304.
Stone brings grease into the conversation immediately. Limestone and marble absorb it, so a dropped ribeye leaves a shadow you will not scrub out.
Granite and soapstone do not, which is why they stay in rotation for counters near the grill.
Concrete can stain too, though the poolside kitchen I keep returning to used it for flooring rather than prep space, paired with red cedar to echo the house itself.
Visible wood means choosing between maintenance and replacement. Cedar and teak both resist rot and insects, which is the baseline for outdoor use.
Teak weathers to silver-gray with less fuss; cedar needs sealing to keep its color but takes stain more willingly.
I have used both for cabinet faces and pergola beams, and the real choice is whether you want to sand and oil every spring or let the sun have its way.
Appliance Choices That Stretch Space

A combination grill with a side burner gives you the most cooking methods per square foot, and that matters when your counter space is measured in inches, not feet.
I learned this after watching a neighbor’s three-appliance setup swallow half his patio; he grills, sears, and simmers on one unit now, and the 24-inch footprint stayed the same.
The national range for outdoor kitchen appliances runs $5,507–$17,276, and your choices push you toward either end fast. Going all-propane with a basic combo unit keeps you near the bottom.
Add a hybrid fuel setup, a searing station, or built-in storage drawers, and the number climbs.
I would skip the rotisserie kit unless you use it twice a month; it is the first feature people buy and the last they touch.
Side burners sound minor until you try boiling corn or reducing a pan sauce while the grill is full of chicken.
The best small layouts I have seen put the burner at one end of the combo unit, not as a separate box.
That saves roughly six inches of counter run, which in a galley-style outdoor kitchen is the difference between a prep bowl fitting or not.
My call: start with a combo grill, one side burner, and a propane hookup you can later convert to natural gas. Cook on that for a season.
You will know by September whether you need the pizza oven attachment or if the money belongs in better shade instead.
What It Costs to Build

A DIY outdoor kitchen build runs $1,500–$6,000 less in labor than hiring out, which is the difference between a $20,000 pro install and doing the same framework yourself for $12,000–$16,000.
Time and skill split the work: shelving, stonework, and framing are manageable if you have experience, but gas, water, and electrical lines are where I draw the line and call a licensed plumber, electrician, and appliance installer.
Permits cost $220–$500 either way, whether you DIY or hire a crew, and plumbing permits can add another $50–$500 on top. Budget $250–$2,000 total for permits depending on your municipality’s requirements.
| Approach | Labor Savings | Permit Range | Where Pro Help Is Required |
|---|---|---|---|
| Full DIY | $1,500–$6,000 | $220–$500 | Gas, water, electric hookups |
| Hybrid (DIY frame + pro utilities) | Partial | $220–$500+ | All utility lines |
| Turnkey pro install | None | $220–$500+ | Entire build |
The real decision point is not ambition but safety: running your own gas line or 240V circuit is where the savings stop being worth the risk, and most jurisdictions require licensed work for both anyway.
Frequently Asked Questions
How much does an outdoor kitchen cost?
The national range for outdoor kitchen appliances alone runs $5,507 to $17,276, and a full professionally installed build typically lands around $20,000. DIY assembly of the frame yourself saves 20-40% in labor, which translates to $1,500-$6,000 less than hiring out.
Permits add another $220-$500 whether you DIY or go pro, plus $50-$500 more if plumbing is involved.
What is the cheapest way to design an outdoor kitchen?
For a ready-to-assemble setup, start with a 5-foot grill island at $5,000-$6,000 and phase the rest: add refrigeration or storage modules later, and run utilities once rather than twice.
Salvaged materials like reclaimed wood and recycled brick can trim costs on custom builds.
Skip the sink if your house wall is within hose reach, and skip side burners if you already cook inside, since every appliance you leave out buys back square footage you cannot build.
Should I put a sink in my outdoor kitchen?
A sink increases convenience but locks you into a more permanent and costly setup.
When you do install one, it needs dedicated plumbing, which typically requires a licensed plumber and adds $50-$500 in permit costs on top of the standard $220-$500 range.
What is the ideal layout for an outdoor kitchen?
An L-shape works best for most backyards: put the hot zone on the longer leg and cold prep on the shorter one, with at least 48 inches of clear counter on each.
For spaces under 200 square feet, two straight islands against a wall beat a U-shape, which needs 80 square feet before you even add walking room.
Keep the kitchen 10 to 20 feet from the house door, close enough for Tuesday-night use but not so near that guests cut through the cooking zone.
What are the trends for outdoor kitchens in 2026?
It focuses on current practical setups: modular prefab units with marine-grade polymer cabinets, pizza ovens paired with 36-inch grills, and covered structures that extend the grilling season.
The emphasis across all sections is on durability and phased building rather than emerging styles.
What are the best designs for an outdoor kitchen?
The best design depends on your space and how you cook. Small yards favor straight islands or compact grill stations with 18-24 inches of prep surface.
Social cooks should add a pizza oven downwind of seating, plus a 12-15 inch counter overhang for bar stools. For year-round use, a full roof enclosure beats a pergola, though you will need ventilation planning to handle smoke.
In every case, anchor utilities with permanent access panels you can actually reach without dismantling stone facing.