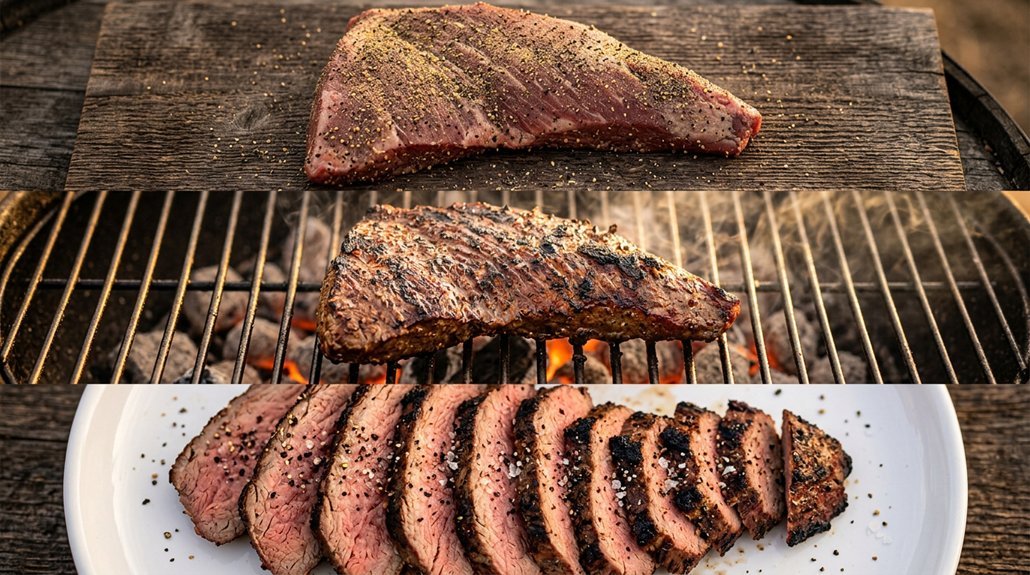
You’re about to turn a humble tri-tip into something truly memorable, but the difference between good and great barbecue isn’t just about the cut—it’s about the details most people rush past. If you’ve ever wondered why your steakhouse favorites taste better than your backyard efforts, the answer might surprise you. Stick around, and you’ll see how three simple shifts in technique can change everything.
Season Your Tri Tip the Night Before (or At Least Two Hours Ahead)
Start by mixing your favorite rub—salt, pepper, garlic powder, and paprika work well—then massage it thoroughly into the meat. You’ll coat every surface evenly, working the spices into the grain. Don’t rush this step; you’re building the foundation of flavor.
Wrap the seasoned tri tip tightly in plastic wrap or place it in a sealed container. You’ll refrigerate it overnight, or for at least two hours if you’re pressed for time. This resting period lets the salt penetrate deep into the muscle fibers, drawing out moisture that then gets reabsorbed with all those seasonings. You’re practically dry-brining the cut, which creates a tastier, juicier result.
Pull it from the fridge thirty minutes before cooking. You’ll leave it uncovered so the surface dries slightly—this helps you achieve better texture when you eventually cook it.
Sear Your Tri Tip Over High Heat, Then Move to Indirect
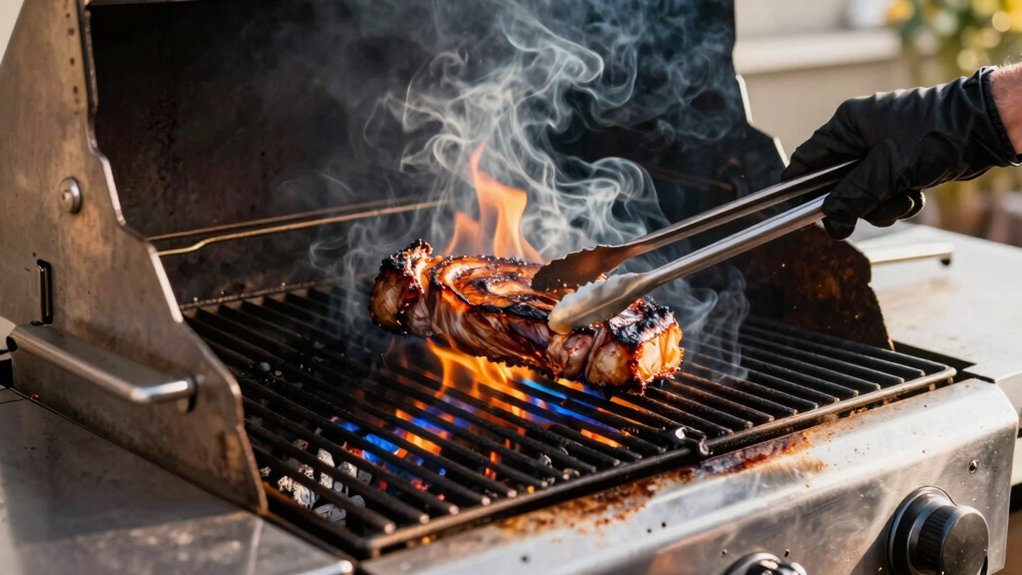
Fire up your grill and set it up for two-zone cooking—pile the coals on one side or turn the burners high on half the surface. You want the hot zone ripping at 450-500°F. Pat your tri tip dry, then lay it directly over the flames. Don’t touch it for 3-4 minutes. Flip once and sear the other side until you’ve got a crusty, caramelized exterior.
Now slide the meat to the cool side. Close the lid and drop the temperature to 250-300°F. You’re roasting indirectly now, letting heat circulate gently around the tri tip. Keep the lid shut as much as possible—opening it wastes heat and extends cooking time. Flip occasionally for even cooking. You’re building flavor through smoke and slow heat, not rushing.
Pull at 130°F, Rest 15 Minutes, and Slice Against the Grain
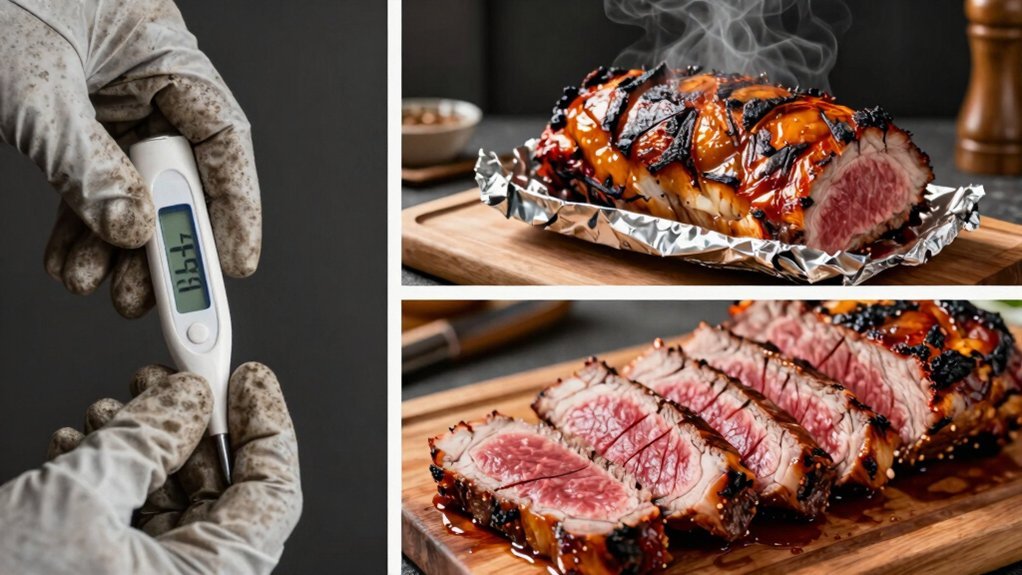
Once your tri tip reaches 130°F internal temperature—measured at the thickest part with an instant-read thermometer—yank it off the heat immediately. Transfer it to a cutting board and tent loosely with foil. Let it rest for fifteen minutes; don’t skip this step. Resting allows juices to redistribute throughout the meat instead of spilling onto your board.
After resting, examine the grain direction—tri tip’s grain runs two ways. Locate where the grain shifts, typically near the center. Slice perpendicular to these lines, not with them. Cut thin, even slices about quarter-inch thick. You’re slicing against the grain to shorten muscle fibers, ensuring tender bites. Serve immediately while warm. You’ve mastered the finish: proper temperature, proper rest, proper slice.
Conclusion
You’ve got everything you need to nail that perfect tri-tip. Season early, sear hard, then let gentle heat do the rest. Don’t rush the rest—those fifteen minutes seal in every drop of flavor. Slice against the grain, serve it up, and watch your guests come back for seconds. Fire up that grill and make it happen.