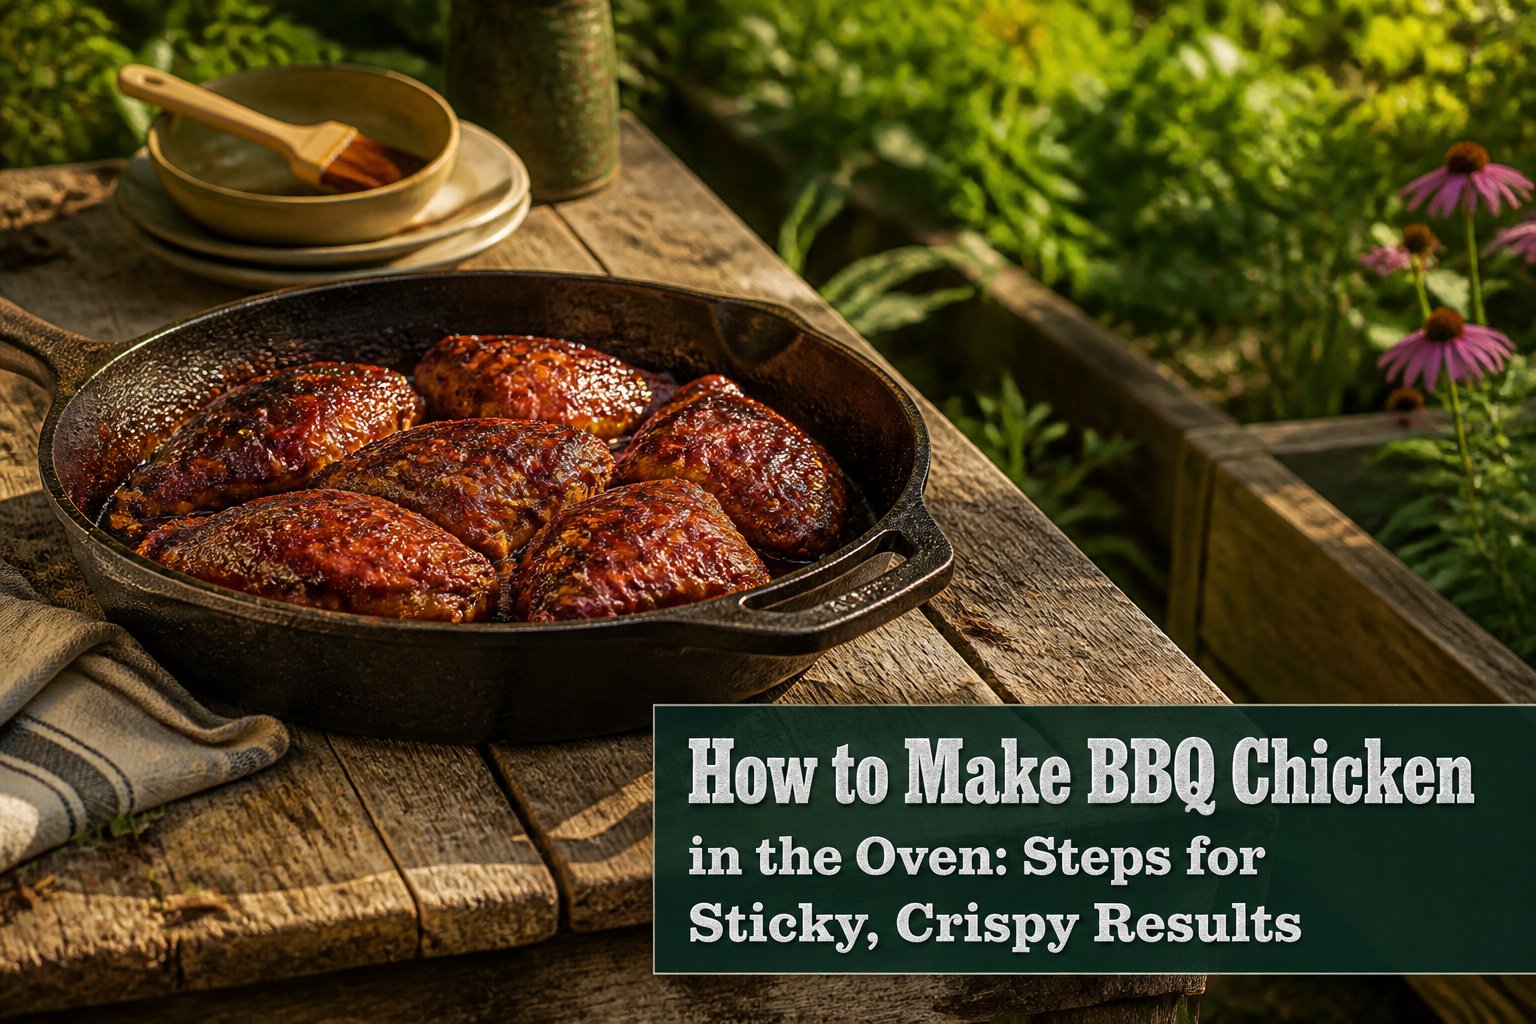
Oven BBQ chicken with sticky, lacquered skin and crisp edges takes about 45 minutes and one pan, but only if you add the sauce at the right moment.
Brush it on too early and the sugars scorch before the center hits 165°F, leaving bitter black patches instead of that dark, crackling glaze.
I bake at 400°F for bone-in thighs to render the fat slowly, then brush the sauce on with ten to fifteen minutes left.
1. Preheat the Oven

The oven needs to be hot enough to set the sauce and crisp the edges, but not so hot that the chicken tightens and squeezes out its juices before the center cooks through. 400°F to 425°F hits that window.
I start at 400°F when I’m working with bone-in, skin-on thighs or legs, the kind of cut that needs a longer stretch in the heat to render the fat and cook the dark meat to tenderness.
The extra few minutes at the slightly lower temperature keeps the barbecue sauce from scorching while the interior climbs to safe temperature.
For boneless, skinless breasts, which dry out faster and cook through in less time, 425°F makes more sense.
The higher heat sears the surface quickly, gives the sauce its sticky glaze, and gets the center to 160–165°F before the meat turns stringy.
One source I trust actually splits the difference: 400°F for the first twenty-five minutes, then a bump to 425°F once the sauce goes on. Either way, the middle rack is where the pan belongs.
Too low and the bottom burns before the top colors; too high and the sauce blackens in spots while the center stays pale.
Recommended Products

One 2.5 lb. package of individually frozen Boneless Skinless Chicken Thighs

Meets standards for animal welfare, feed, and more, so you can know about what you're buying (and eating)
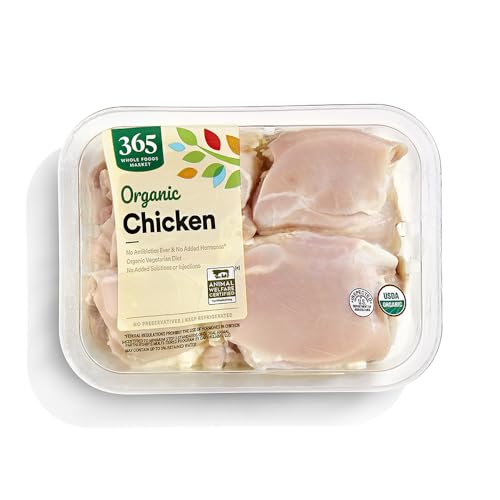
365 by Whole Foods Market products give you that dance-down-the-aisles feeling, virtual aisles too! Our huge range of choices with premium ingredients at prices you can get down with makes grocery shopping so much more than tossing the basics in your cart.
2. Line and Grease the Baking Sheet

A rimmed baking sheet is non-negotiable here; the sauce will run, and a flat pan turns that into an oven-floor project.
I line mine with aluminum foil, shiny side up, which beats parchment for cleanup because the sauce caramelizes hard where it drips.
A quick swipe with oil or a spritz of nonstick spray keeps the chicken from gluing itself to the foil during the first bake.
I used to skip the greasing step when the meat already had oil in the seasoning, and I lost a good crust to the pan more than once.
If you only have parchment, it works, but you’ll spend more time scrubbing the dark spots afterward.
Recommended Products

STRONG & DURABLE: Aluminum foil sheets are a durable and budget-friendly alternative to non aluminum baking pans. Use our aluminum pans as cookie sheets for baking, or as a pizza baking sheet and rest assured, it will hold strong!

Pre-Cut Foil Sheets—This package contains five boxes of 50 Reynolds Wrap Aluminum Foil sheets, measuring 14 x 10.25 inches each. 250 sheets total.
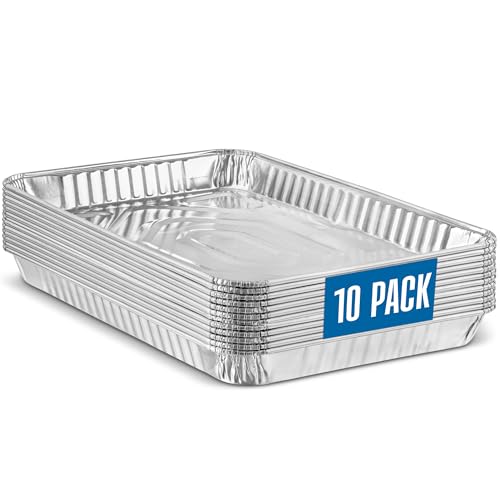
Disposable sheet pans for your convenience. Save yourself from hours of scrubbing and cleaning metal sheet pans.Foil pans are also stronog enough to be washed and reused if desired.
3. Season the Chicken

Bone-in, skin-on thighs or breasts give you the fat and surface area that turn out sticky and crisp instead of dry. I pat the pieces dry first; moisture left on the skin steams it instead of rendering it.
A thin coat of olive oil goes on all over, then a dry rub of salt, pepper, garlic powder, and paprika. One source adds onion powder to the mix, which is worth trying if you keep it on hand.
The proportions that work for four bone-in breasts are roughly one teaspoon each of salt and pepper, with a quarter teaspoon each of garlic powder and sweet paprika.
Rub it under the skin too if you can get your fingers in without tearing it.
Skin side up matters. The fat under the skin drips down and bastes the meat as it cooks, and the exposed skin browns instead of turning flabby against the pan.
Arrange the pieces on whatever you’ve lined for easy cleanup, and space them so they aren’t touching. Crowding traps steam, and steam is what you’re trying to avoid.
Recommended Products
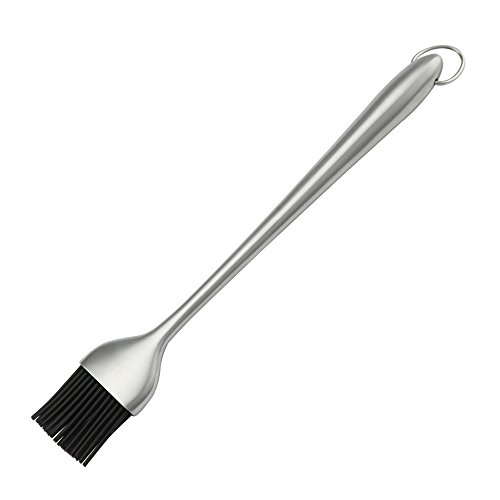
Heavy-duty BBQ Basting Brush by HQY - Silicone Bristles with 12 Inch Stainless Steel Handle - Make Grilling Easy - 5 Year Guarantee

✔ With 4 Extra Replacement Heads : This BBQ mop brushes for sauce allows you to keep your barbecue moist, infuse it with flavor while you are cooking or add sauce. It can pick up more thin sauces than silicone pastry brush. Best mop to add sauce, marinate, oil, tenderizer grill or smoke BBQ ribs, brisket, chicken and pork.

FOOD GRADE MATERIALS: This Silicone Basting Brush Set is BPA Free, non-toxic, and lead free with a stainless steel core inside the non-slip handle. Made from premium food grade silicone, the silicone bristles will not break or shed in your food, providing a more hygienic cooking experience
4. Bake Until Nearly Done

Bone-in thighs and drumsticks need the longer end of the range, about 35 to 45 minutes, while boneless breasts run closer to 20 to 30.
The shape matters more than the weight: a thick, uneven breast can still be raw at the center when the edges look done. A digital instant-read thermometer removes the guesswork.
Slide it into the thickest part without touching bone, and pull the chicken when it reads 165°F.
That temperature is the safety threshold, not a suggestion, and the carryover heat will push it a degree or two higher while it rests.
If you want a second layer of sauce, brush it on at the halfway mark, then return the pan to the oven without opening the door repeatedly.
The fewer times you let that heat out, the more evenly the meat cooks and the less the sauce scorches before the interior is ready.
Recommended Products
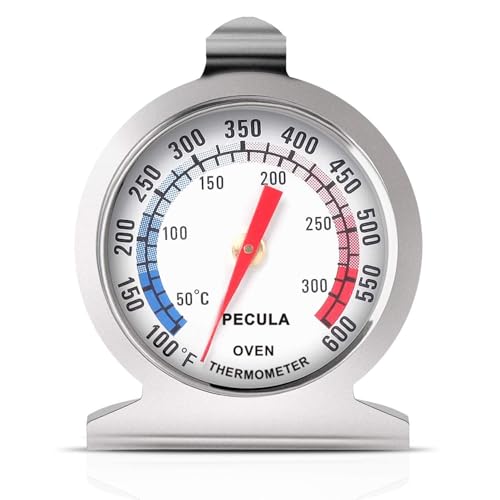
Clear Dial Display: PECULA's analog oven thermometer delivers precise, instant readings from 50–300°C / 100–600°F. Its dial features clear dual-zone blue and red indicators for at-a-glance temperature monitoring—perfect for ovens, grills, smokers, and deep fryers, ensuring you master every bake, roast, or fry.
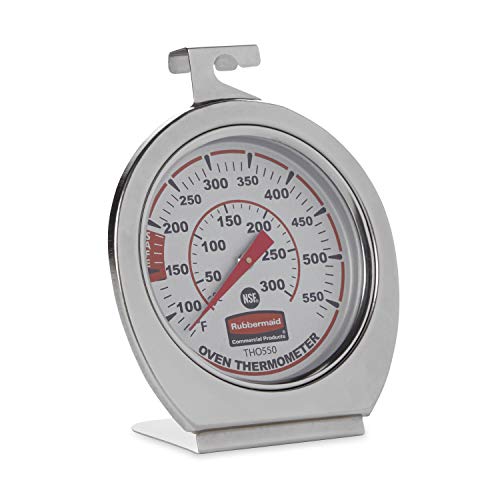
FOOD SAFETY: Thermometer displays true oven temperature instantly to ensure safe food preparation

Oven and grill safe for leave-in use while cooking
5. Brush on the BBQ Sauce

The sugars in BBQ sauce burn fast under dry oven heat, so the glaze goes on late.
I pull the chicken when it is almost at the end of its bake, usually with about ten to fifteen minutes left on the clock, and brush on the first coat then.
The sauce needs that window to tighten and turn sticky without charring.
A single layer stays thin. For a thicker glaze, I brush on a coat, let it set for five minutes in the oven, then pull the pan and add another.
Two passes is usually enough to build a lacquered skin that clings instead of sliding off.
Adding sauce too early is the mistake that turns the surface bitter and black. The Maillard reaction on the chicken itself is what you want; scorched sugar is not.
Wait until the meat is nearly cooked through, then paint it on.
Recommended Products

One value pack tray of bone-in, skin-on chicken thighs weighing between 4 and 6 pounds


Meets standards for animal welfare, feed, and more, so you can know about what you're buying (and eating)
6. Broil to Finish

The broiler is where the sauce turns from wet to lacquered, but two to five minutes is the entire window before the sugar in most barbecue sauces moves from caramel to carbon.
Two minutes under the broiler is plenty; charred and burned sit closer together than most recipes let on. Move the oven rack up, flip the switch, and stay at the door.
The skin will never reach the shatter-crack of a herb-roasted bird, not with sauce coating every crevice, but the broiler does give it a dark, sticky crust that reads as crisp against your teeth.
A baking rack set inside the sheet pan helps air circulate underneath, so the bottom doesn’t steam while the top sears. Keep the pieces skin-side up throughout; there is no reason to flip once the sauce is on.
If you lined the pan with foil for easier cleanup, the broiler stage is when you are glad you did.
Recommended Products

400 Sheets Tinfoil Roll:Made from 100% aluminum with a thickness of 20 microns,each measuring 12" W x 10.5" L. The box dimensions are 12.60" W x 5.90" D x 3.14" H.

Disposable sheet pans for your convenience. Save yourself from hours of scrubbing and cleaning metal sheet pans.Foil pans are also stronog enough to be washed and reused if desired.

Naturals commercial bakeware is made of pure aluminum which will never rust for a lifetime of durability. Foods bake and brown evenly due to aluminum’s superior heat conductivity.
7. Rest Before Serving

The sauce darkens and chars in those last few minutes, but the real finish happens after you pull the pan.
Let the chicken rest 5 to 10 minutes off heat so the juices that have been driven to the center can drift back out through the meat.
Slice too early and those juices run straight onto the board instead of staying where they belong. The result is dry meat with a puddle underneath it, no matter how carefully you timed the bake.
I usually set the pan on a wire rack, loosely tent with foil if the kitchen is cold, and use the wait to warm plates or toss a quick salad.
The chicken holds heat longer than you’d think, and the texture reward is worth the pause.
Recommended Products

BBIMPROVE YOUR BBQ GAME - These Mopping Brushes keep your meat moist and full of flavor by allowing you to easily add mop, sauce, marinate, or tenderizer to your BBQ ribs, brisket, chicken, and pork while cooking.
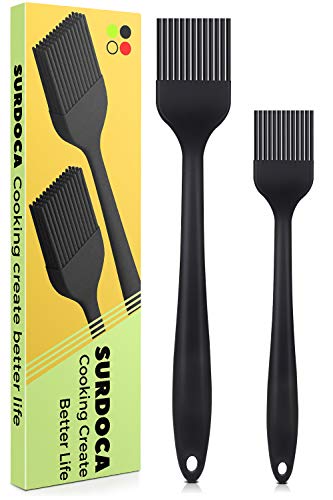
100% BPA FREE & FOOD GRADE SILCIONE : This silicone basting brush made of 100% BPA FREE food grade silicone. All bristles of this basting brush set are BPA-free material which are safe and good for your health. whole basting brush body covered by soft silicone material which can offer you perfect using feeling. At the same time, this basting brushes kitchen silicone is non-staining and won't pick up food particles (unlike wooden basting brush).

SILICONE BRISTLES THAT RESIST FRAYING: Brush features silicone bristles that will not fray or shed when layering thick sauces, glazes, and marinades onto chicken, ribs, brisket, or any grilling protein during extended sessions.
Chicken Cut Times and Temperatures

Bone-in cuts take longer to cook than boneless, and dark meat tolerates more heat without drying out. 425°F works best for breasts, and every cut still needs to hit 165°F inside, though timing changes with the piece.
| Cut | Oven Temp | Approx. Time | Final Internal Temp |
|---|---|---|---|
| Boneless breast | 425°F | ~15 minutes | 165°F |
| Bone-in breast | 425°F | 15 minutes + 5 minutes with sauce | 160–165°F |
| Bone-in thigh | 425°F | Same as bone-in breast | 165°F |
| Drumsticks / leg quarters / wings | n/a | 35–45 minutes | 165°F |
The half-hour gap between breasts and drumsticks comes down to bone mass and fat content. Breasts dry fast, so pull them early to sauce, then send them back in.
Dark meat cuts go straight through, and the longer time renders fat into flavor. A digital instant-read thermometer is the only reliable check, oven quirks being what they are.
Recommended Products

Clear Large Dial Display: The oven thermometer is with a extra-large and colorful 3.5" analog dial which makes it easy to read in long distance, and as a oven thermometer for gas oven and oven thermometer for electric oven temperature or oven thermometer for electric oven, the high temperature resistant dial is not fading with long time in oven, the convenient warming, baking, and roasting zones are printed for easy reference and monitoring the cooking food.
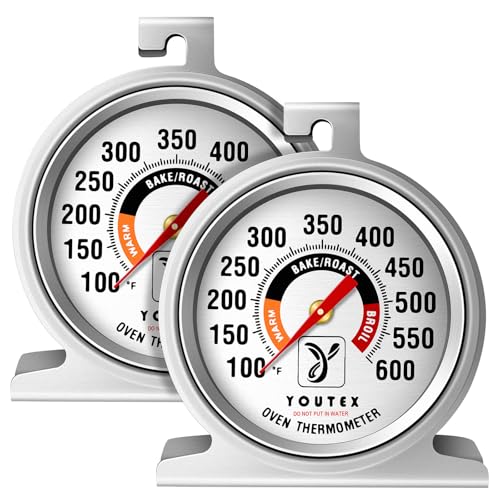
1. Easy to Read: The 2.5-inch dial with bright, large numbers provides clear temperature readings, even through smoky oven doors. The vibrant, heat-resistant ink stays vivid over time, and color-coded sections for warm, bake/roast, and broil allow for quick reference.

Multi Usage for Oven Cooking: The oven thermometer can accurately monitor oven inside temperature from 100℉ to 600℉, It is perfectly designed for traditional ovens, electric ovens, toaster ovens, grills, smokers, or any other heat based food appliance.With the large numbers and clear dial display, the thermometer can monitor the oven cooking, displays true oven temperature quickly to assist in safe and correct food preparation.
Store-Bought Sauce or Homemade

Bottled sauce wins on speed. An 18-ounce jar covers roughly three pounds of chicken with no measuring, no simmering, no extra dishes.
Store-bought means you get whatever sweetness or smoke the manufacturer decided on, and some brands run thin, so the sauce slips off the meat and burns in the pan.
A homemade version takes maybe ten minutes on the stovetop. Ketchup, brown sugar, vinegar, a few spices.
Most recipes do not give exact measurements for from-scratch sauces, so you are tasting and adjusting by eye. That freedom is the point.
You can build it sweeter, punch it with cider vinegar, or spike it with chili powder and smoked paprika until it tastes like your own.
An 18-ounce jar barbecue sauce, or 2 cups homemade barbecue sauce
The New York Times recipe treats them as equal partners, not a hierarchy. That is the useful frame: one is not better, they serve different nights.
Store-bought for Tuesday when the oven needs to be on in twenty minutes. Homemade for Sunday when you want the kitchen to smell like something developing.
Recommended Products

Meets standards for animal welfare, feed, and more, so you can know about what you're buying (and eating)

Meets standards for animal welfare, feed, and more, so you can know about what you're buying (and eating)

Meets standards for animal welfare, feed, and more, so you can know about what you're buying (and eating)
Keeping Skin Crispy

Uncovered baking is what separates sticky BBQ chicken from soggy BBQ chicken. The skin needs dry, circulating heat to render the fat and build a proper crust, and a covered pan traps steam that works against both.
- Leave the pan uncovered from the start. The Maillard reaction needs surface moisture to evaporate; trapping it under foil just poaches the skin soft. Bone-in, skin-on thighs and drumsticks handle this best.
- A wire rack set inside a rimmed baking sheet buys you extra insurance. Air circulates underneath so the chicken never sits in its own juices. Skin-side-up the whole time skips the flip and the risk of tearing.
- Sauce goes on after the initial bake, not before. The sugars burn fast at high heat, and burnt sauce makes leathery skin instead of caramelized skin.
- The broiler is your finishing move. Two or three minutes at the end, rack moved up, eye on it the whole time. The sauce chars; the skin crackles. Without this step you get color but not that dark, crackly bite.
- Skip the dry brine if you’re in a hurry, but know the trade. Two to twelve hours uncovered in the fridge with salt draws out water and seasons the meat. Rinse, pat dry, and the skin starts drier than it would straight from the package.
Recommended Products

READY TO USE PRE-CUT CONVENIENCE: No more tearing, measuring, or wasting foils. Each aluminum foil sheet comes pre-cut to a perfect 12” x 10.75” size, so you can grab exactly what you need in seconds - saving time and keeping your kitchen workflow smooth and mess-free
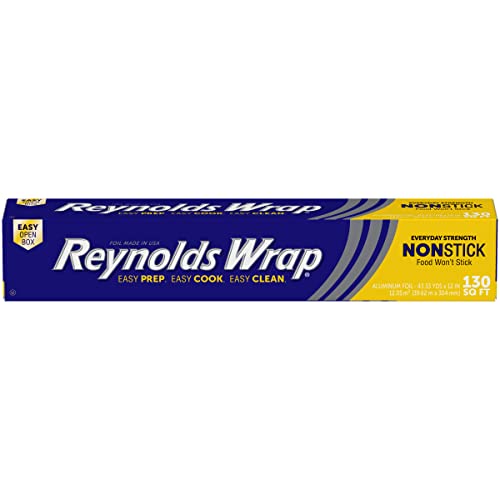
Non-Stick Aluminum Roll: This package contains one Reynolds Wrap Non Stick Aluminum Foil roll measuring 130 feet long by 12 inches wide (130 square feet total)

Baked to Perfection: Make the best ooey gooey chocolate chip cookies with our disposable cookie sheets. Our foil trays evenly bake your cookies to create that delicious golden crust.
Frequently Asked Questions
How long does it take to cook BBQ chicken in the oven?
Bone-in thighs and drumsticks need 35 to 45 minutes, while boneless breasts run 20 to 30 minutes at 425°F. The shape of the cut matters more than its weight, so a digital instant-read thermometer is the only reliable check for doneness.
Should you cover BBQ chicken when baking it?
No, keep the pan uncovered from start to finish. Covering traps steam that poaches the skin soft and prevents the Maillard reaction from building a proper crust.
What temperature should the oven be set to?
400°F to 425°F is the right window. Start at 400°F for bone-in, skin-on dark meat that needs longer to render fat, and use 425°F for boneless breasts that cook faster and benefit from quicker surface searing.
How do I get crispy skin on BBQ chicken?
Broil for two to five minutes at the very end, rack moved up, watching the whole time so the sugar in the sauce does not cross from caramel to carbon.
A wire rack inside the sheet pan also helps air circulate underneath so the bottom does not steam while the top sears.
Do you put barbecue sauce on chicken before or after baking?
After, and late in the bake. Brush on the first coat when the chicken has about ten to fifteen minutes left, then add a second coat after five minutes if you want a thicker, lacquered glaze.
Adding sauce too early scorches the sugars and turns the surface bitter and black.
Do you bake chicken at 375 or 400?
Neither is quite hot enough for this method.