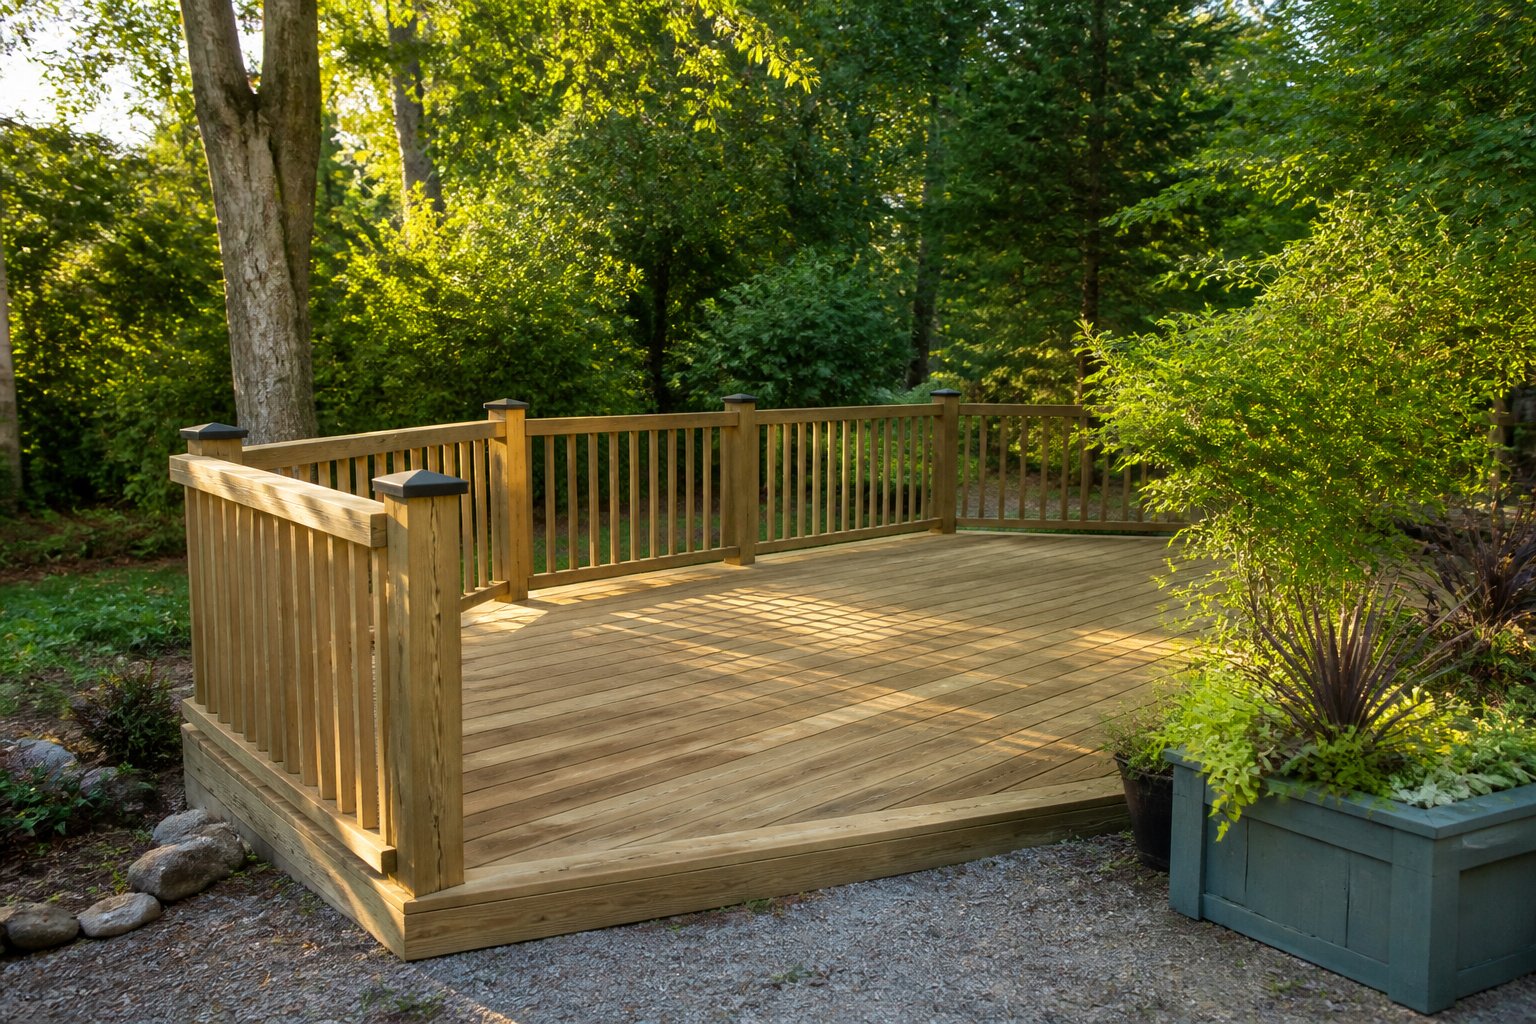
A finished floating deck costs about $500 in pressure-treated lumber for a 10-by-12-foot build, plus a weekend of work with tools you likely already own.
Most people get the site preparation wrong, skipping the tamp or the landscape fabric and watching the frame shift after the first hard rain.
Gravel over compacted soil, not loose dirt, is what keeps those concrete blocks level once the joists go on.
1. Prepare the Site
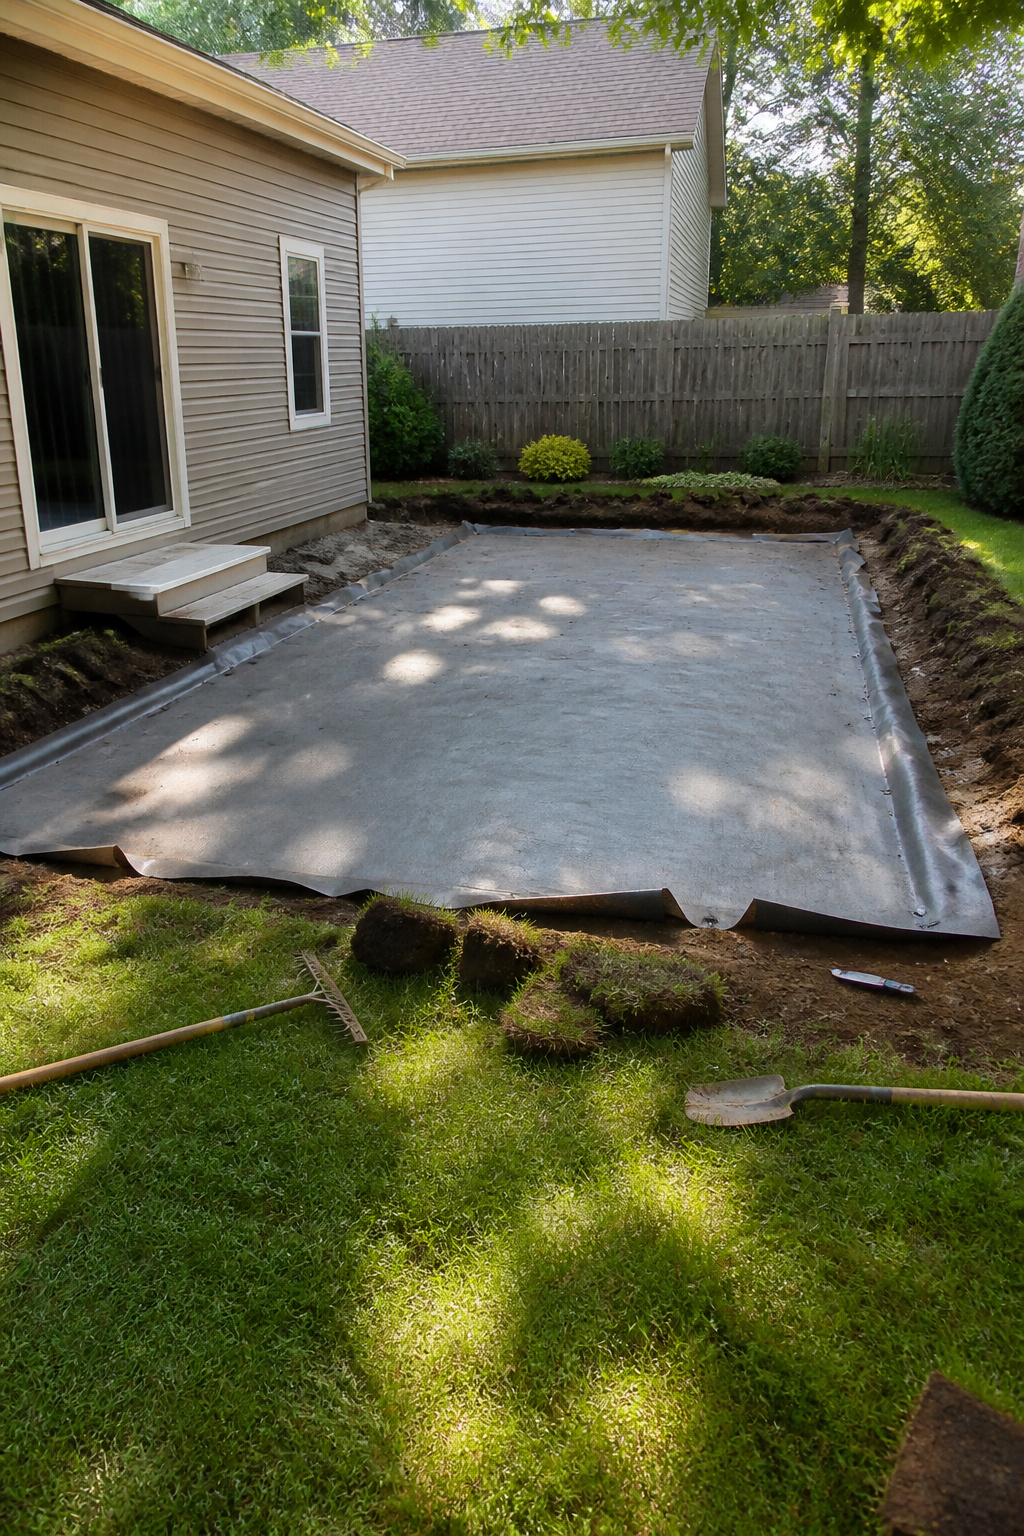
Grass and topsoil have to come out first, every bit of it. Rake what is left until the surface reads flat, then run a hand tamp across the whole area to compress it firm.
The tamp is the tool that turns loose dirt into something a deck block can sit on without shifting later.
Landscape fabric comes next, rolled tight over the bare ground.
It blocks weeds that would otherwise push up through the framing, and the layer of gravel you spread on top of it keeps the fabric in place while it drains water away from the wood.
Without that drainage, moisture pools under the frame and rots it from below.
Uneven ground is workable, but it demands attention. A rough spot can be filled and tamped level; a genuine slope needs deck blocks set to different heights or 4×4 posts cut to bring the beams up flat.
Sloped builds carry a safety risk, though, and if the grade is steep enough that adjusting block heights feels uncertain, a professional assessment is worth the call before the first board goes down.
Recommended Products

Designed with a bugle head, multi-purpose thread and sharp point, exterior wood-to-wood fastening projects become quick, easy, and seamless.
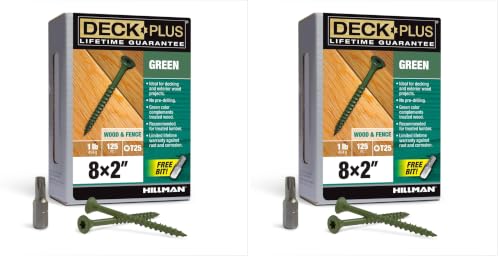

Self-Drilling Point: Together, coarse screw threads and a self-drilling point design eliminate the need for a pilot hole
2. Lay Out Deck Blocks
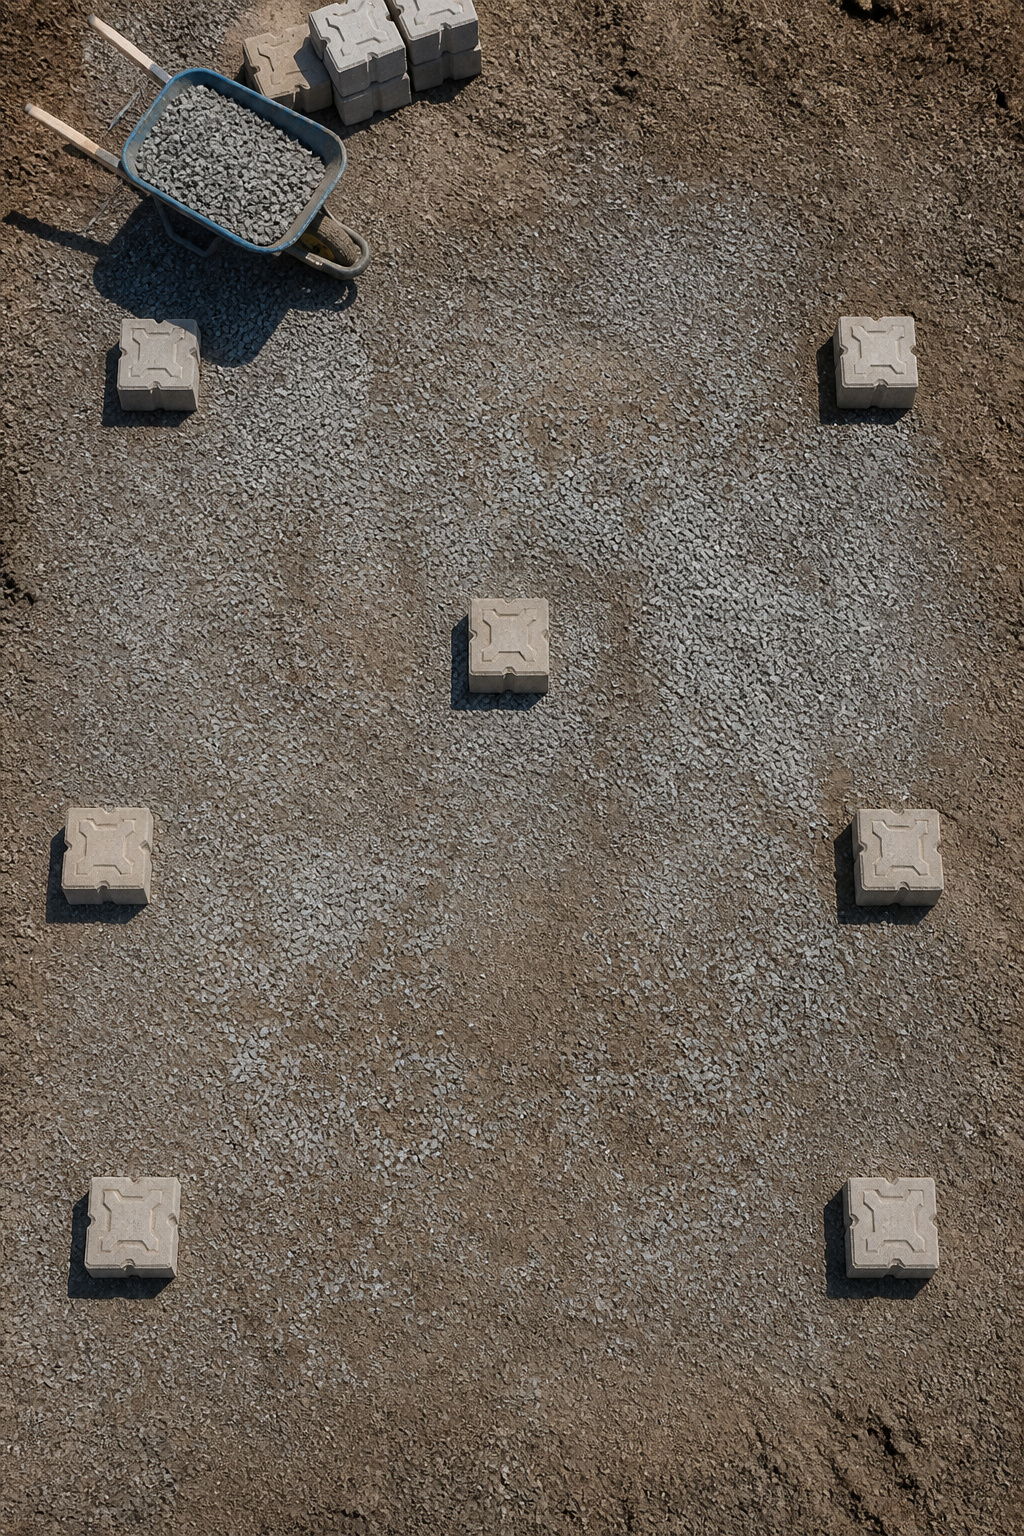
Concrete blocks sit at every corner of the planned deck, with extras spaced along the edges and one dead center to keep the frame from sagging years down the line.
A small platform might need only six blocks total; a larger one can swallow twelve or more before the support feels right.
The ground rarely cooperates perfectly. Adjustable foundation blocks exist for exactly this reason, letting you tweak height without digging down or shimming with scrap wood.
I looked hard at them for a sloped corner near a fire pit once, but concrete deck blocks in stock at the usual hardware stores won out that day.
In hindsight, the adjustable version would have saved some awkward partial burying and the one post I ended up needing where the grade dropped lowest.
Level each block as you go, checking against its neighbors, not just solo. Gravel packed underneath and tamped firm does the real work of keeping them even.
The notch on top of standard blocks cradles a 2x joist or a 4×4 post directly; no brackets, no concrete pour, no waiting.
Recommended Products

Heavy Duty Deck Support with High Load Capacity: Built with reinforced UV-resistant polypropylene, each deck support pedestal provides reliable strength and stability for...
3. Build the Frame
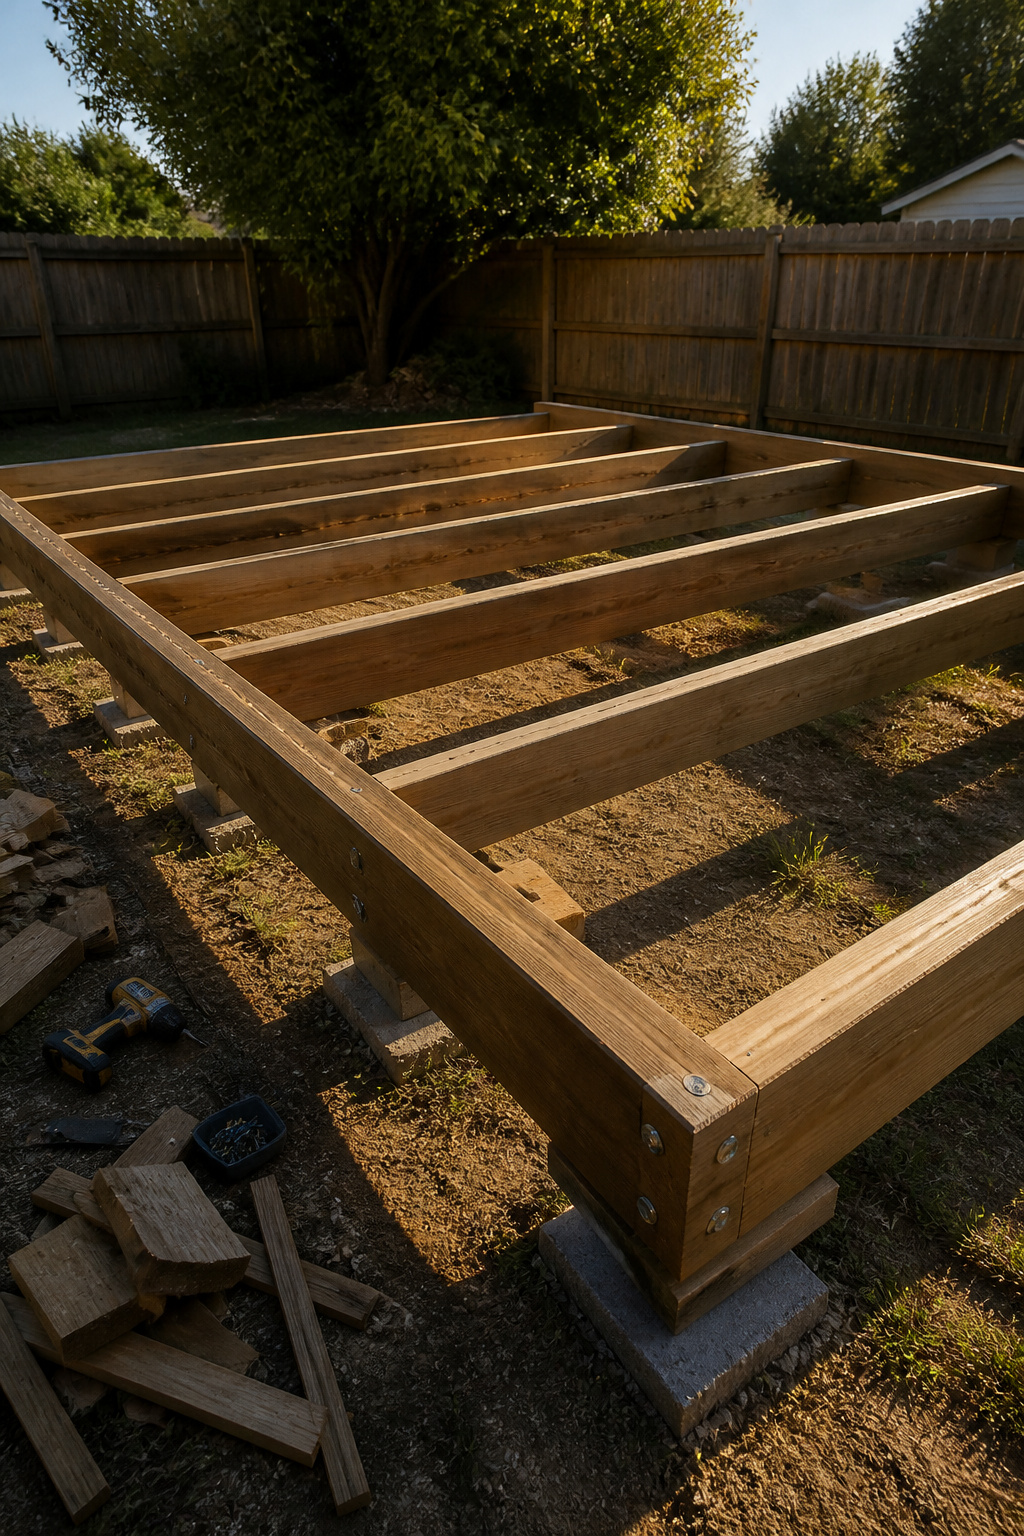
Pressure-treated 2x8s make the outer frame, with 2x6s running inside as joists.
I trim the factory ends clean before anything else; those saw marks from the mill are never square, and starting crooked here throws off every step that follows.
Corners get four 3-inch deck screws driven through the 2x8s, while a 2×6 meeting the frame needs three. Clamps matter more than I expected, especially if the lumber has dried warped since delivery.
Joist hangers go on after the frame is square. I check diagonally corner to corner with a tape measure; matching numbers mean square, and fixing it now beats fighting twisted decking later.
The hangers themselves take two fastener sizes: 2.5-inch screws through the hanger into the rim board, and shorter 1.5-inch screws into the joist itself.
Every hole in the hanger gets filled; the manufacturer rates each one, and skipping even one undoes the engineering. Where a joist lands on a deck block in the center row, I toenail from the opposite side instead.
Simpler, and the block carries the load directly.
Recommended Products

5OZ High Density & Durable Woven PP Material: This landscape fabric has 1415 Sq.ft large coverage area, length: 108ft/33m, width: 13ft/4m.This weed cloth can be easily cut to meet various needs such as driveway stabilization, gardening, agriculture, and drainage. Made of woven PP material and 5OZ high density, this driveway fabric has great durability and easily conforms to uneven surfaces.
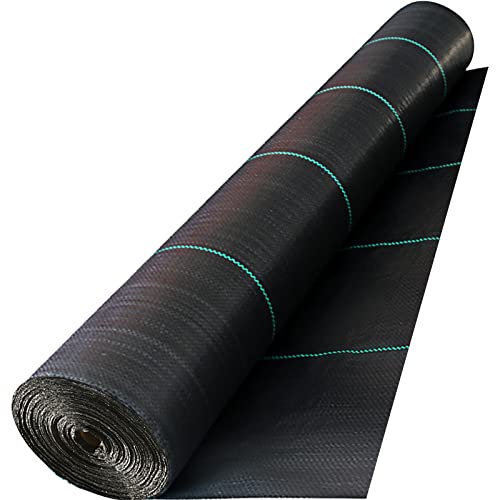
5OZ High Density & Durable Woven PP Material: This landscape fabric has 780Sq.ft large coverage area, length: 60ft/18.3m, width: 13 ft/4 m. It can be easily cut to meet various needs such as driveway stabilization, gardening, agriculture, and drainage. Made of woven PP material and 5OZ high density, this driveway fabric has great durability and easily conforms to uneven surfaces. Note: Product width is FOLDED IN HALF for shipping.
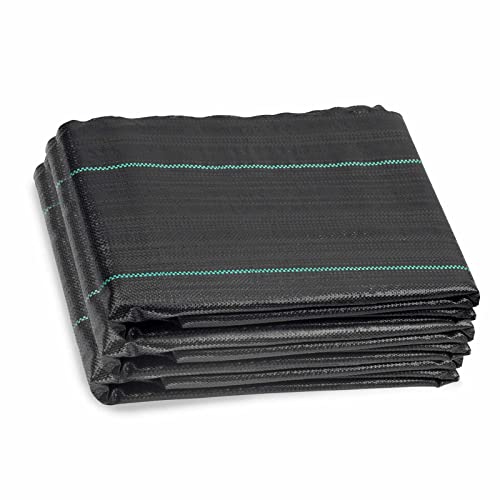
Weed Blocking Landscape Fabric:Groweco Heavy Duty Weed Barrier Fabric is made of 3.2 oz polypropylene.The use of weeding cloth can provide weed protection for you,make your workplace clean and hygienic,make your work more comfortable and improve your work effciency
4. Install Joists
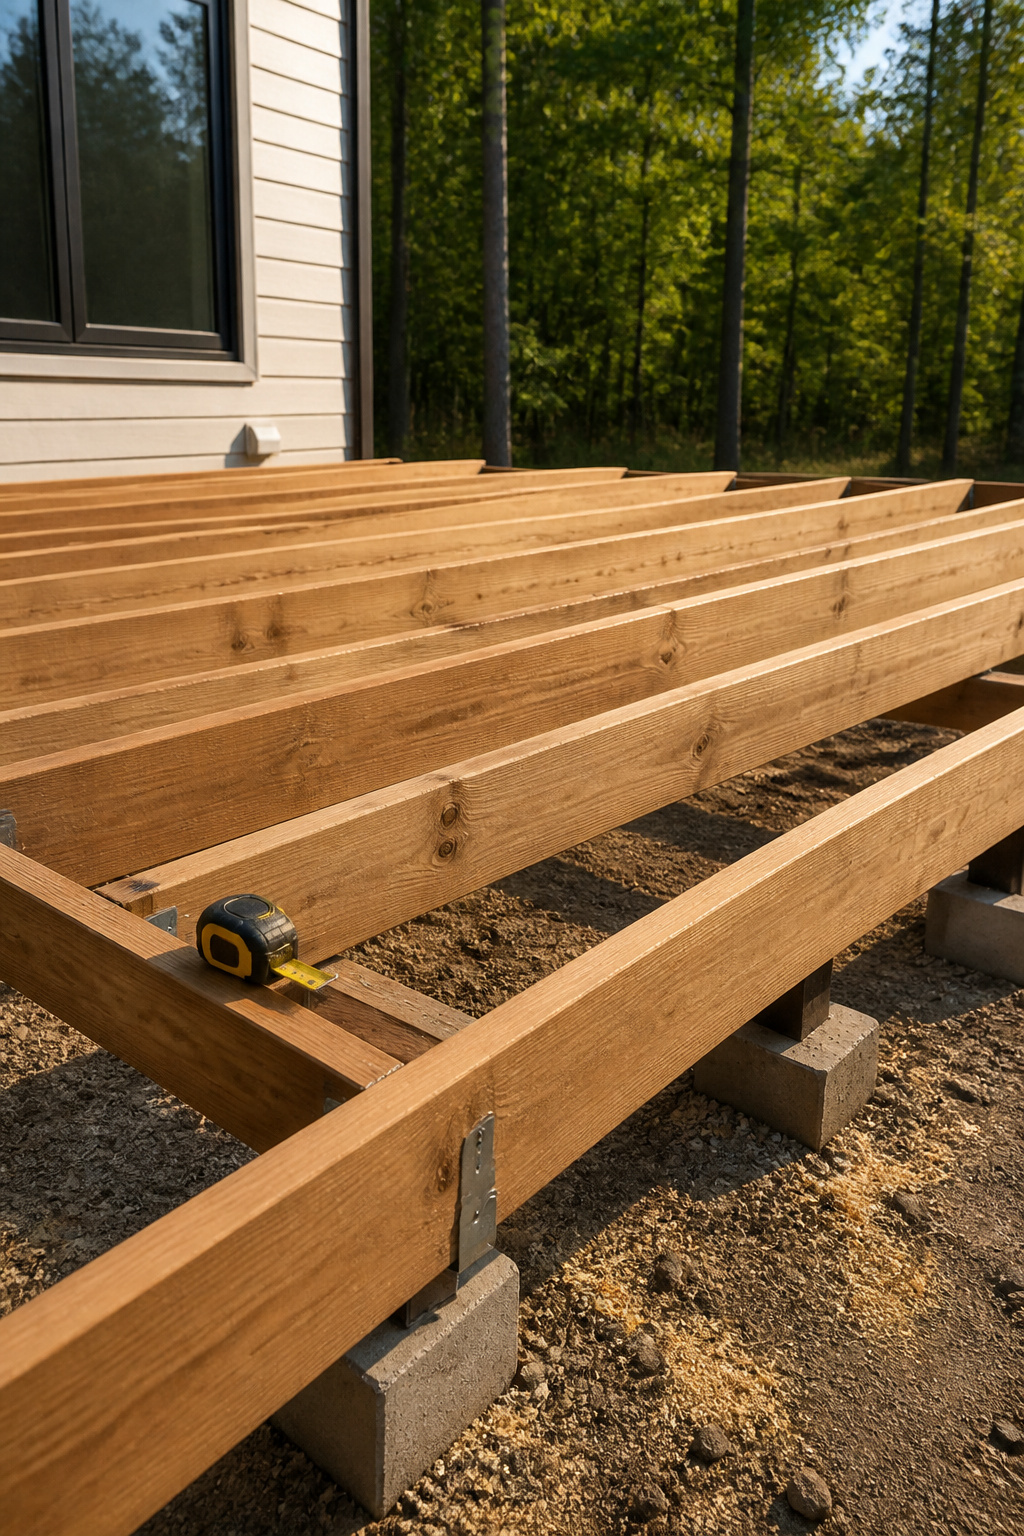
Joist spacing is the decision that separates a deck that feels solid underfoot from one that flexes and squeaks two years later.
The two standard options are 12 inches on center or 16 inches on center, measured from the center of one joist to the center of its neighbor.
Twelve-inch spacing costs more in lumber and time but produces a firmer, longer-lasting surface, especially if you are using composite decking or planning heavy furniture.
Sixteen inches is the common default and works fine for most residential builds with standard pressure-treated boards, though I have noticed the difference walking across both: the tighter grid simply feels planted.
Joist hangers are what actually connect each joist to the frame, and they matter more than most people expect.
These small metal brackets keep the joist ends from resting directly on the beam, which reduces rot risk and helps the whole structure share weight evenly.
I mark every hanger position before cutting any lumber, using a scrap block to set the spacing rather than measuring fresh each time. It saves about half the headache.
Once hangers are fastened, the joists drop in and the frame starts behaving like a single unit instead of a loose collection of boards.
Check that every joist sits flush across the tops before you move on; a low joist becomes a dip you will feel every time you cross the deck.
Recommended Products

Instant foundation system used for building floating decks and platforms

24 Deck Blocks: You will receive 24 black deck blocks, and 48 screws. The screws make it easy to secure joists or beams to the pedestals for extra stability, ensuring your deck, shed, or flooring stays level and safe.

18X lighter than concrete deck blocks (1 CAMO BLOCK weighs 2.16lbs)
5. Lay Deck Boards
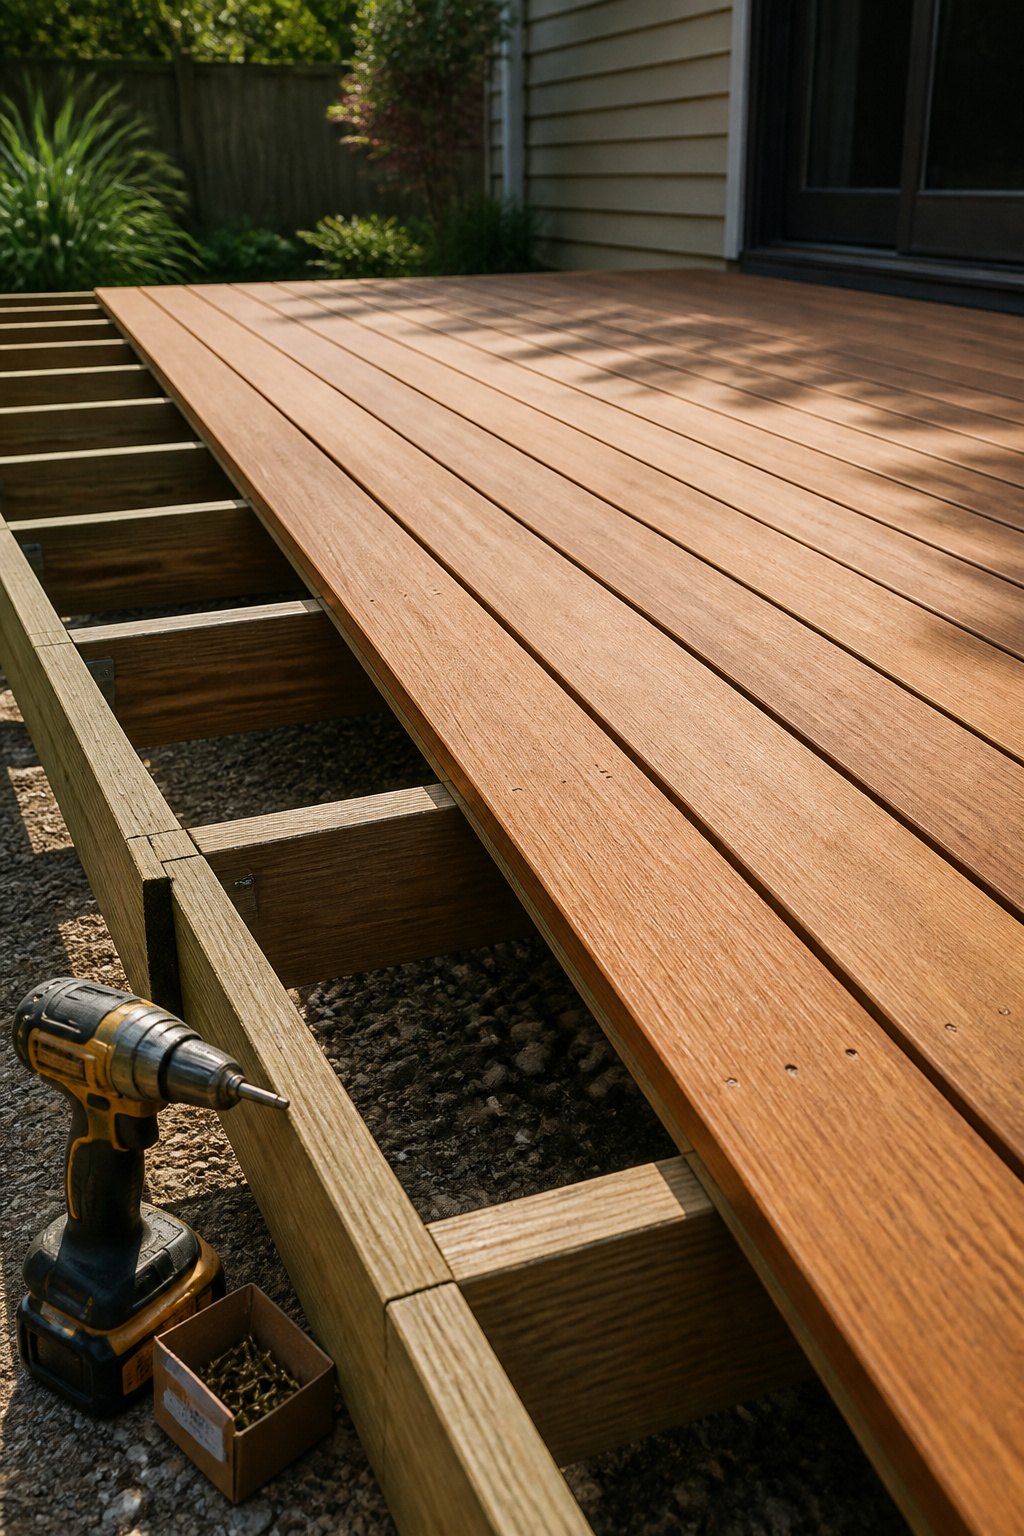
Deck boards go down perpendicular to the joists, each one fastened at every crossing with deck screws sized to the lumber: 2 inches for 1-inch stock, 2-1/2 inches for 1-1/2-inch stock.
I leave about 1/8 inch between boards for drainage and the slight swelling that happens after rain. That gap looks narrow now, but it widens to a visible slot once the boards weather.
Wood versus composite is the choice that matters here, not earlier in the build. Pressure-treated lumber is what I used, and it behaves exactly like the framing: it moves.
A 12-foot board can gain or lose a full 1/8 inch across a humid week, which is why that spacing is not negotiable. Composite boards barely breathe at all.
The gap stays put, and so does the color, though the upfront cost runs higher and the surface can get slick with mildew if you let leaf litter sit.
Wood needs a coat of sealer every couple of years; composite asks for soap and water and patience with the heat that builds up underfoot in July.
Stagger the joints so no break lines up with its neighbor. Cut the final board to land on a joist, never between them, or it will bow.
If the last run is too wide, rip it lengthwise and hide the cut edge against the house or a border board, keeping the factory bullnose to the outside.
That single detail is what separates a deck that looks finished from one that looks built.
Recommended Products

Durable Construction & Reliable Performance: BlumeTrec heavy-duty tamper is made from premium high-grade steel with a rust-resistant coating. It features a solid 10-inch by 10-inch steel head and a durable all-steel handle, built tough for repeated use on demanding jobs. Whether you're compacting soil, dirt, or gravel, it offers consistent and reliable performance. It’s well-suited for landscaping, hardscaping, and construction tasks in both residential and commercial settings.
Durable Construction & Reliable Performance: BlumeTrec heavy-duty tamper is made from premium high-grade steel with a rust-resistant coating. It features a solid 8-inch by 8-inch steel head and a durable all-steel handle, built tough for repeated use on demanding jobs. Whether you're compacting soil, dirt, or gravel, it offers consistent and reliable performance. It’s well-suited for landscaping, hardscaping, and construction tasks in both residential and commercial settings.

Ground Tamper Tool: The hand tamper tool adopting a brand new fillable base design - adding water, sand or mud, the overall weight can be increased from 9.55 lbs to 17.3 lbs, the soil tamper tool landscaping providing better compaction effect for difficult work.The combination we recommend adding is water + sand + gravel, followed by sand + gravel/water + sand, and then sand/gravel/water (adding just water will wobble).
6. Finish the Deck
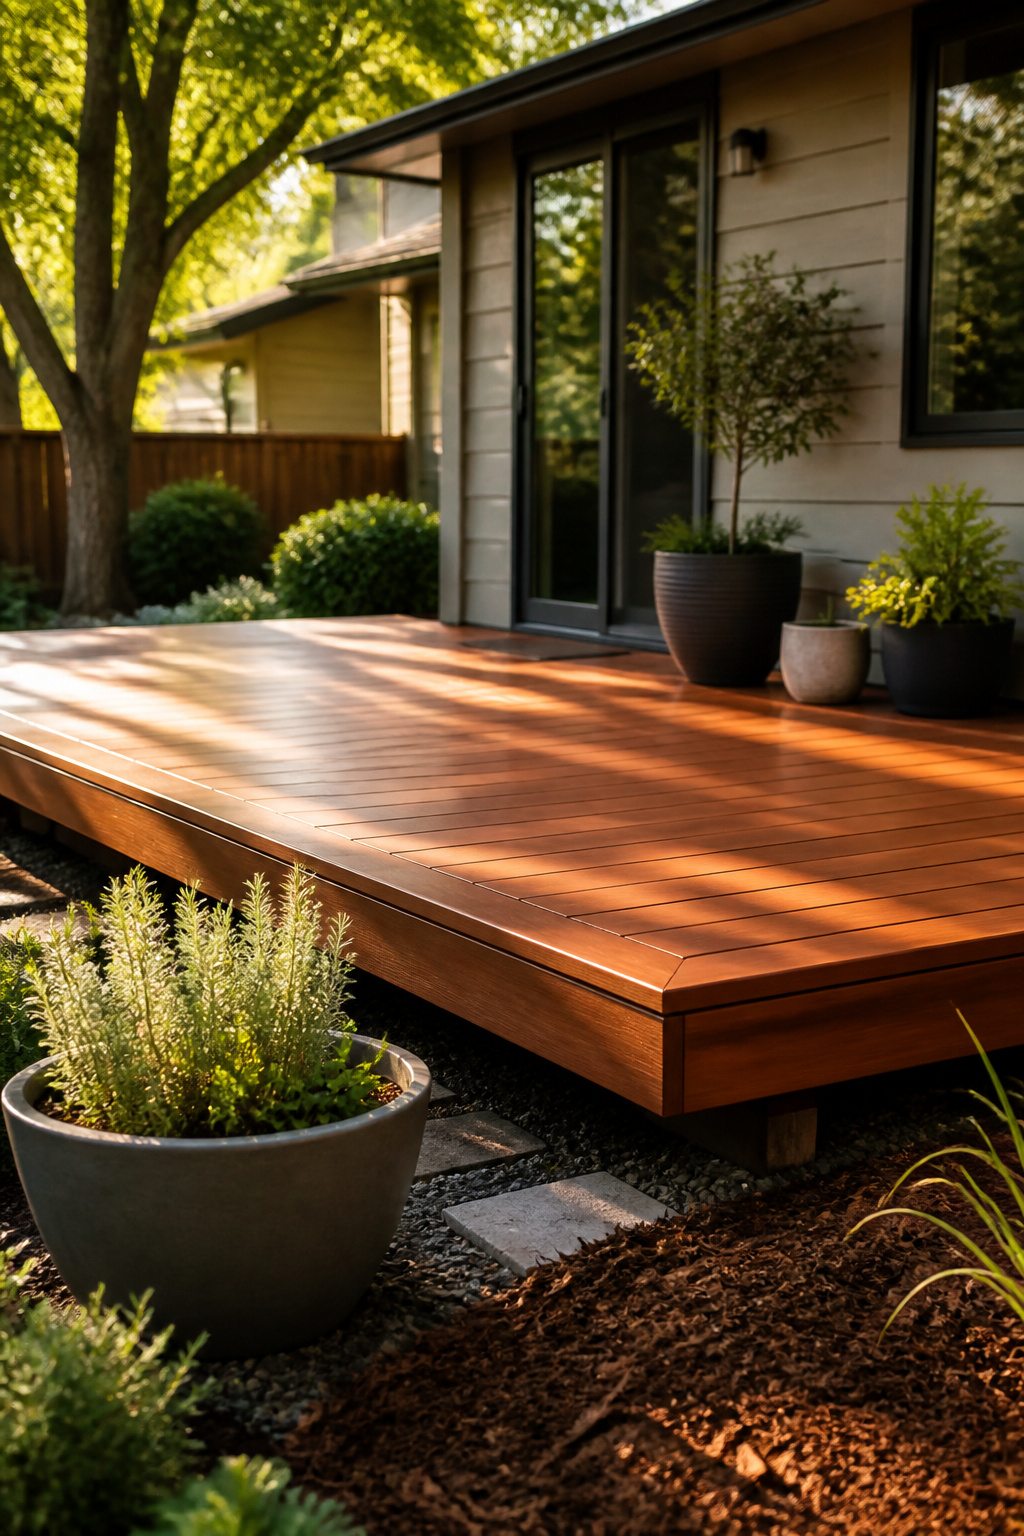
The edges of a floating deck take more abuse than the middle, so trimming them flush and sanding any splinters is worth the hour before you seal.
Pressure-treated framing can stay bare, but the decking itself needs a protective stain or sealer once it is dry enough to accept it.
Leave it unfinished and the boards will gray out and weather on their own, which some people prefer, though paint tends to wear off fast on horizontal surfaces.
Every three to five years, reapply sealer or varnish if you want to keep the natural color. Between coats, sweep and wash the deck regularly so leaves and twigs do not leave tannin stains behind.
For decks sitting within a few inches of the ground, moisture is the real enemy. Ground-contact-rated lumber or aluminum framing slows decay, but you still need a slight slope and a way to channel water away from the structure.
Skirting can hide the gap and improve the look, yet it also blocks air flow, so plan it with drainage in mind rather than sealing the underside tight.
Recommended Products

Self-Drilling Point: Together, coarse screw threads and a self-drilling point design eliminate the need for a pilot hole

Built for Outdoor Excellence: You will get 5lb box (approx. 614pcs screws) #8 x 2" Bronze deck wood screws with T25 star bit,Tested to withstand over 2000 hours of salt spray exposure,feature a specialized external Bronze corrosion-resistant coating,withstand harsh weather conditions without breaking down.

【Widely used】:These screws are suitable for various materials, including wooden furniture, beds, tables, cabinets and chairs, particleboard, cork and hardwood. These wooden screws have been validated in various projects, from deck retrofitting to scaffold construction, and are also suitable for general woodworking tasks such as frame, fence, deck construction, workbench and countertop installation. Can be used for indoor and outdoor wooden structures that require durable fasteners.
Permits and Regulations
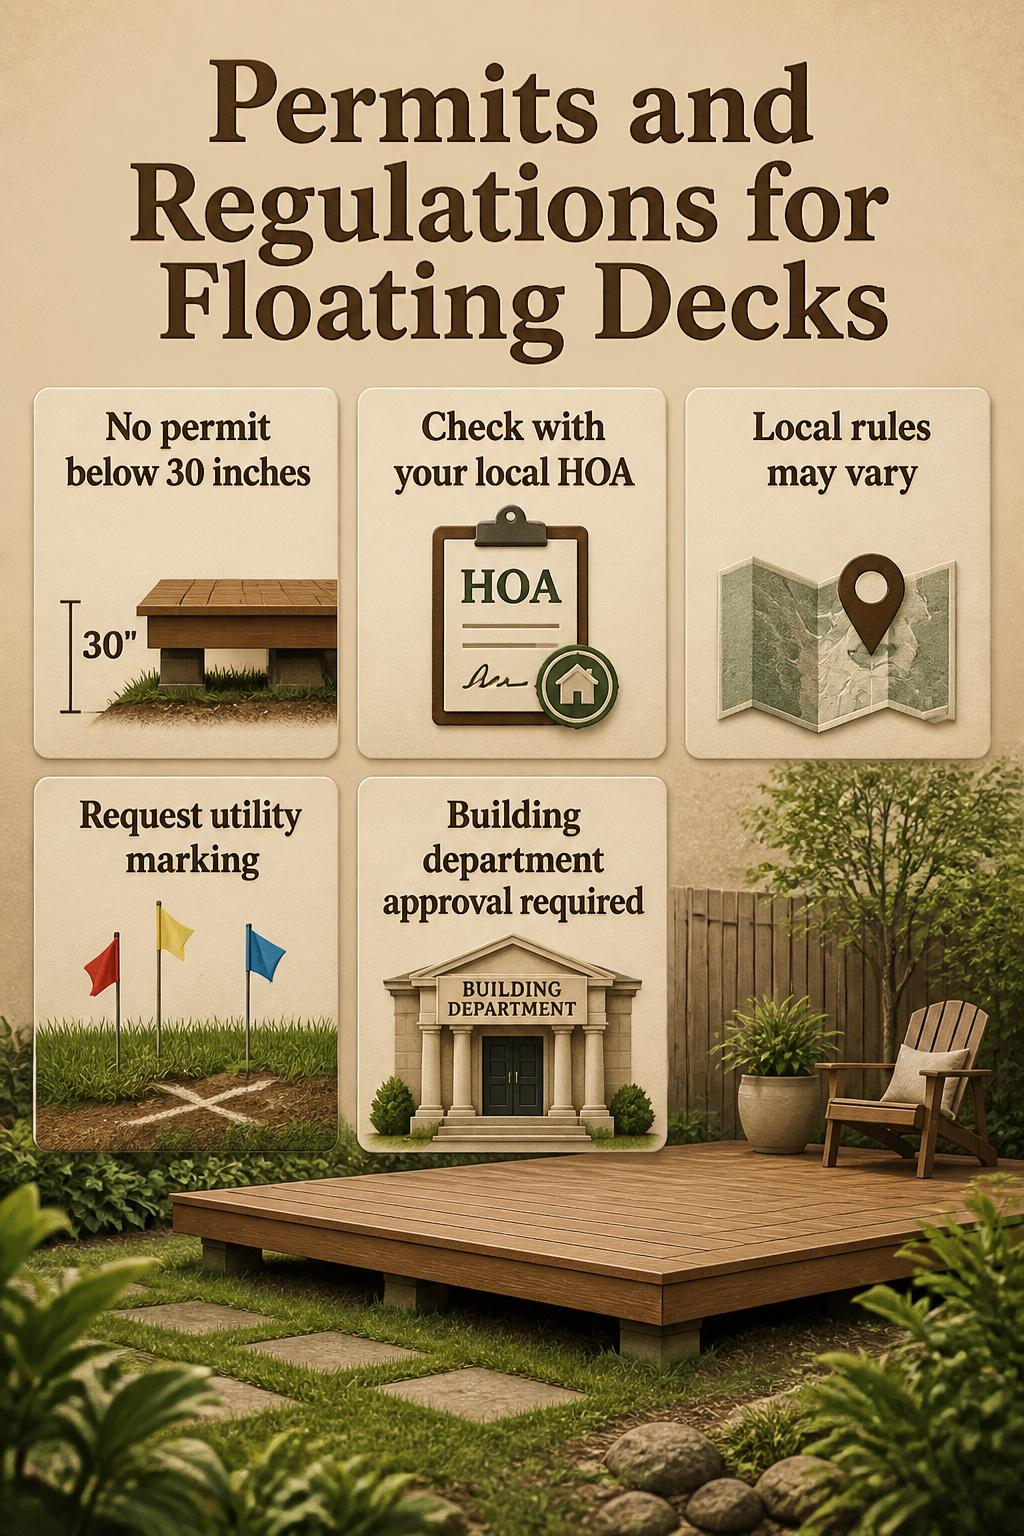
A floating deck sitting below 30 inches from the ground often slips past permit requirements, since many jurisdictions only trigger paperwork once you cross that height or attach anything to the house.
That gap is what makes the project appealing to weekend builders, but the exact threshold moves depending on where you live.
I learned this the hard way on a job years back, assuming the 30-inch rule was universal and starting layout the same morning.
The inspector who eventually wandered over explained that my town measured from the highest adjacent grade, not the lowest, which put my planned frame six inches into permit territory. I had already cut several joists.
The redo cost a full Saturday and the price of a few new boards.
If any part of the deck is higher than 30 inches, you build a structure on any part or attach any part to your house, you’ll need a permit. Otherwise, you shouldn’t need one, but check with your building department or HOA.
That "otherwise" covers a lot of ground, and your HOA may layer its own rules on top. A quick call to the local building department and a request for utility marking takes an hour and saves the project.
Recommended Products

【Protects Walls & Fences — No Drilling Required】These concrete wall hooks slide over 6–11-inch-thick, flat-topped brick, stucco, concrete, or cement walls without drilling, screws, or adhesive, helping prevent unnecessary holes—ideal for renters. (Note: Not suitable for rounded or slanted wall tops.)

Adjustable Wall Thickness Fit: Adjusts to fit different wall thicknesses (6.2-11.5 inches) and works with flat-topped cinder block walls, concrete, fence, and brick walls. (Please measure the wall thickness before purchasing)
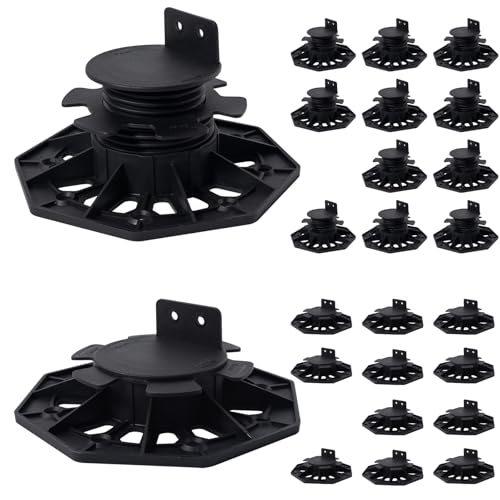
Simple and convenient: When installing the plastic wood floor, you only need to drill screws through the small holes on the upper plate and fix it on the keel to maintain the stability of the structure, which is simple and convenient.
Tools Required
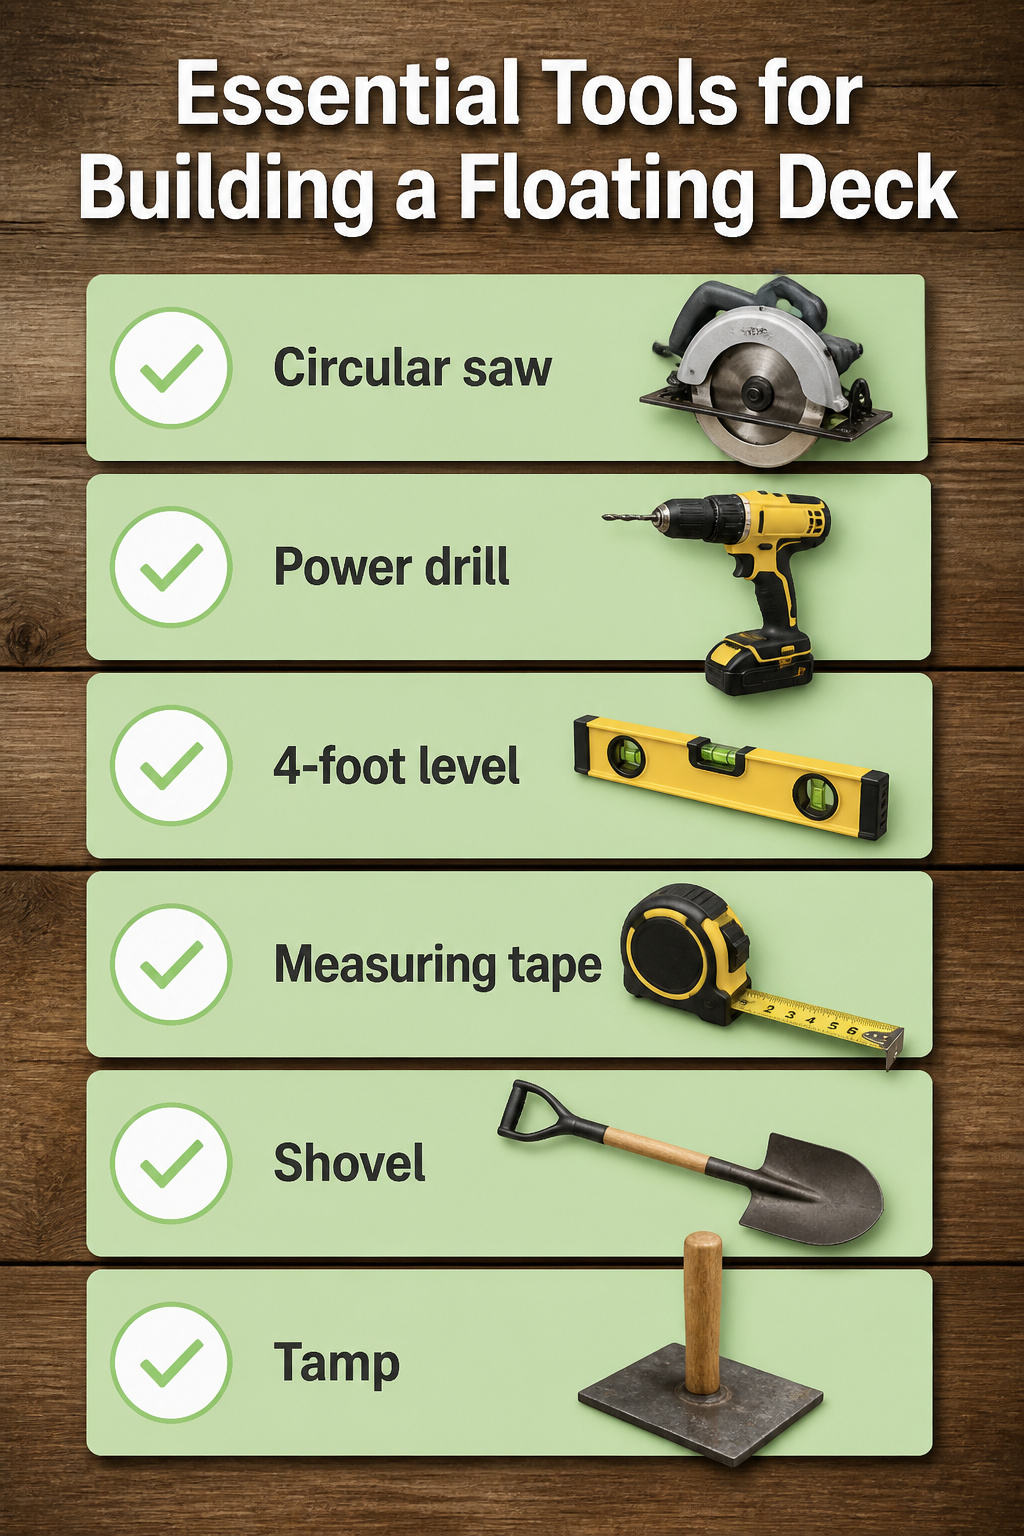
A floating deck build needs six tools you probably already own or can borrow from a neighbor. A circular saw is worth buying new; everything else you probably already own or can borrow.
- Circular saw for cutting pressure-treated boards and joists to length. Cordless is fine if the battery lasts through a morning of cuts.
- Drill with bits for driving screws into the frame and securing hardware to deck blocks.
- 4-foot level, because a floating deck settles where you least expect it and the eye lies.
- Measuring tape, 25 feet minimum, for laying out the block grid before the frame goes up.
- Shovel to skim off sod and rough-grade where the blocks sit.
- Tamp, either a hand tamper or the rented plate compactor, to settle the gravel or soil base so the blocks don’t shift after the first rain.
I skipped the rake and hammer the lists mention. A rake spreads mulch, not compacted base rock, and I used the drill for every fastener.
Recommended Products

Weed Blocking Landscape Fabric:Groweco Heavy Duty Weed Barrier Fabric is made of 3.2 oz polypropylene.The use of weeding cloth can provide weed protection for you,make your workplace clean and hygienic,make your work more comfortable and improve your work effciency

Heavy Duty and High Strength Material: Features 8oz tough and durable density, PP non-woven, 350N tensile strength, our weed barrier fabric features erosion-proof, damp-proof, tear-proof, and durable material compared with other woven ground covers.

【5OZ Driveway Fabric】-Our 5 Ounce Heavy Duty Geotextile made from High-Quality Polyethylene Material,tear-resistant, sturdy and durable.
Cost Estimates
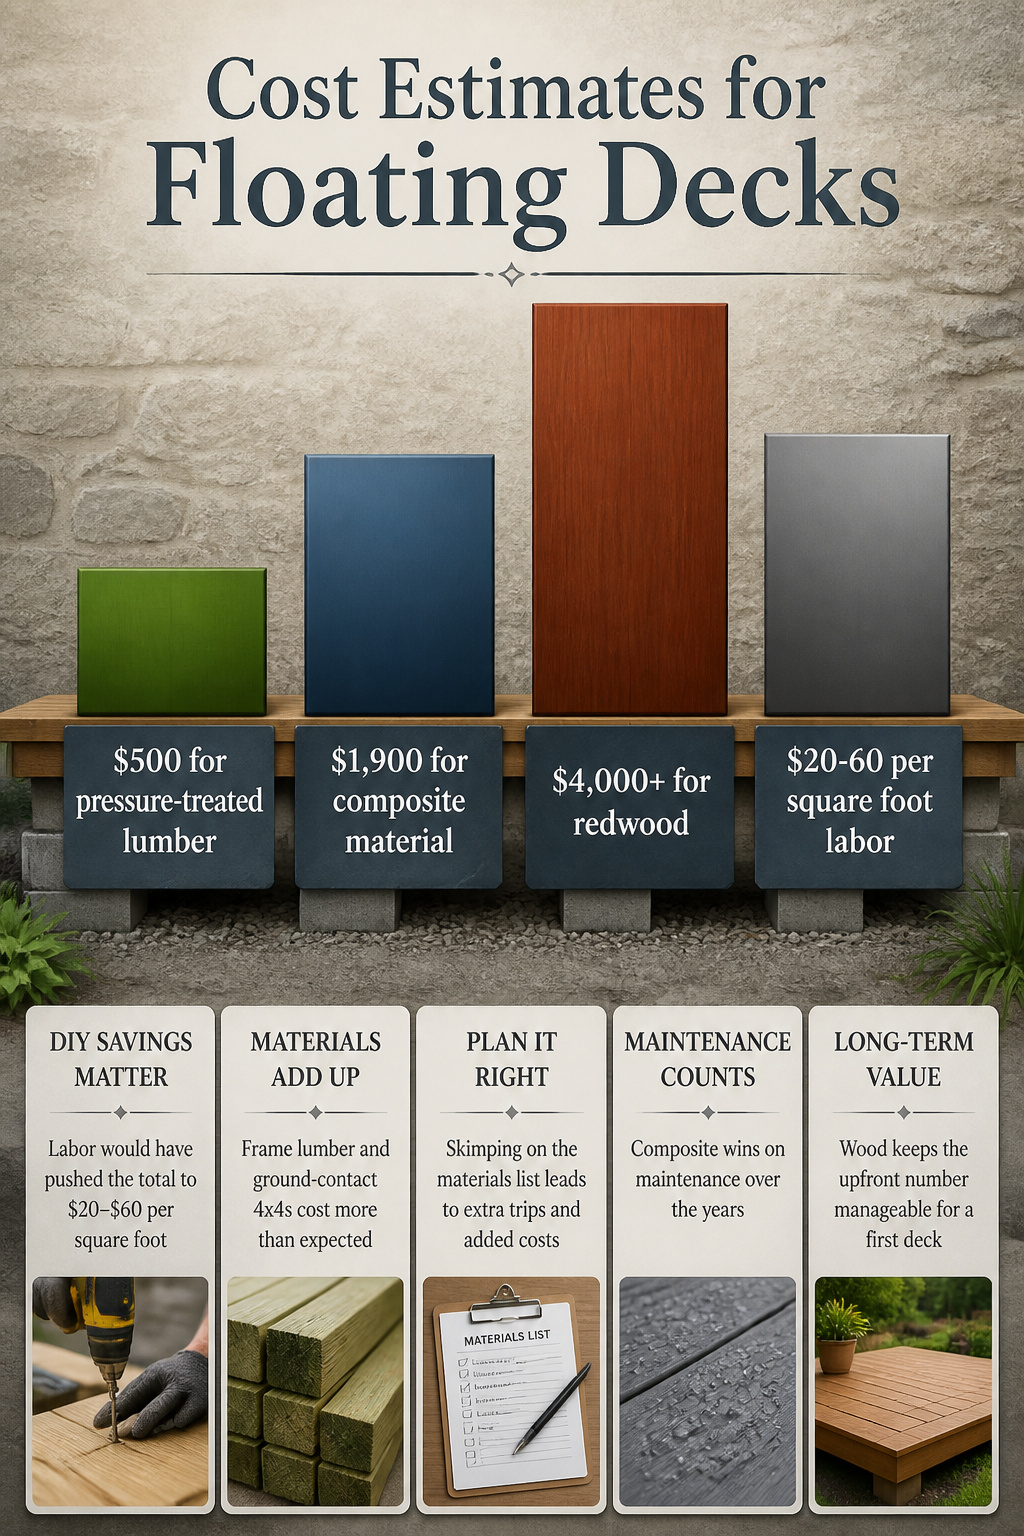
A 10′ x 12′ floating deck built with pressure-treated lumber runs about $500 if you do the work yourself, which is where most backyard projects land.
That figure covers the frame, the decking boards, and the concrete blocks, assuming you already own a drill and a level.
Composite on the same footprint pushes closer to $1,900, and redwood can hit $35 per square foot, so a 12′ x 10′ in that material would blow past $4,000 before you set the first post.
I went over budget on my 14′ x 16′ build because I skimped on the initial materials list and had to double back for extra joist hangers and longer decking boards.
The frame lumber also cost more than I expected; ground-contact pressure-treated 4x4s ran higher than standard posts, and the difference added up across sixteen blocks.
Labor would have pushed the total to $20–$60 per square foot, which is why floating decks make sense as DIY projects: the savings are the point.
Composite wins on maintenance over the years, but for a first deck you might replace in a decade, wood keeps the upfront number manageable.
Recommended Products

18X lighter than concrete deck blocks (1 CAMO BLOCK weighs 2.16lbs) Accepts 4x4 posts, 6x6 posts, 2x4, 2x6, and 2x8 wood joists, and 2 in. metal joists BLOCKS nest together...
Design Variations
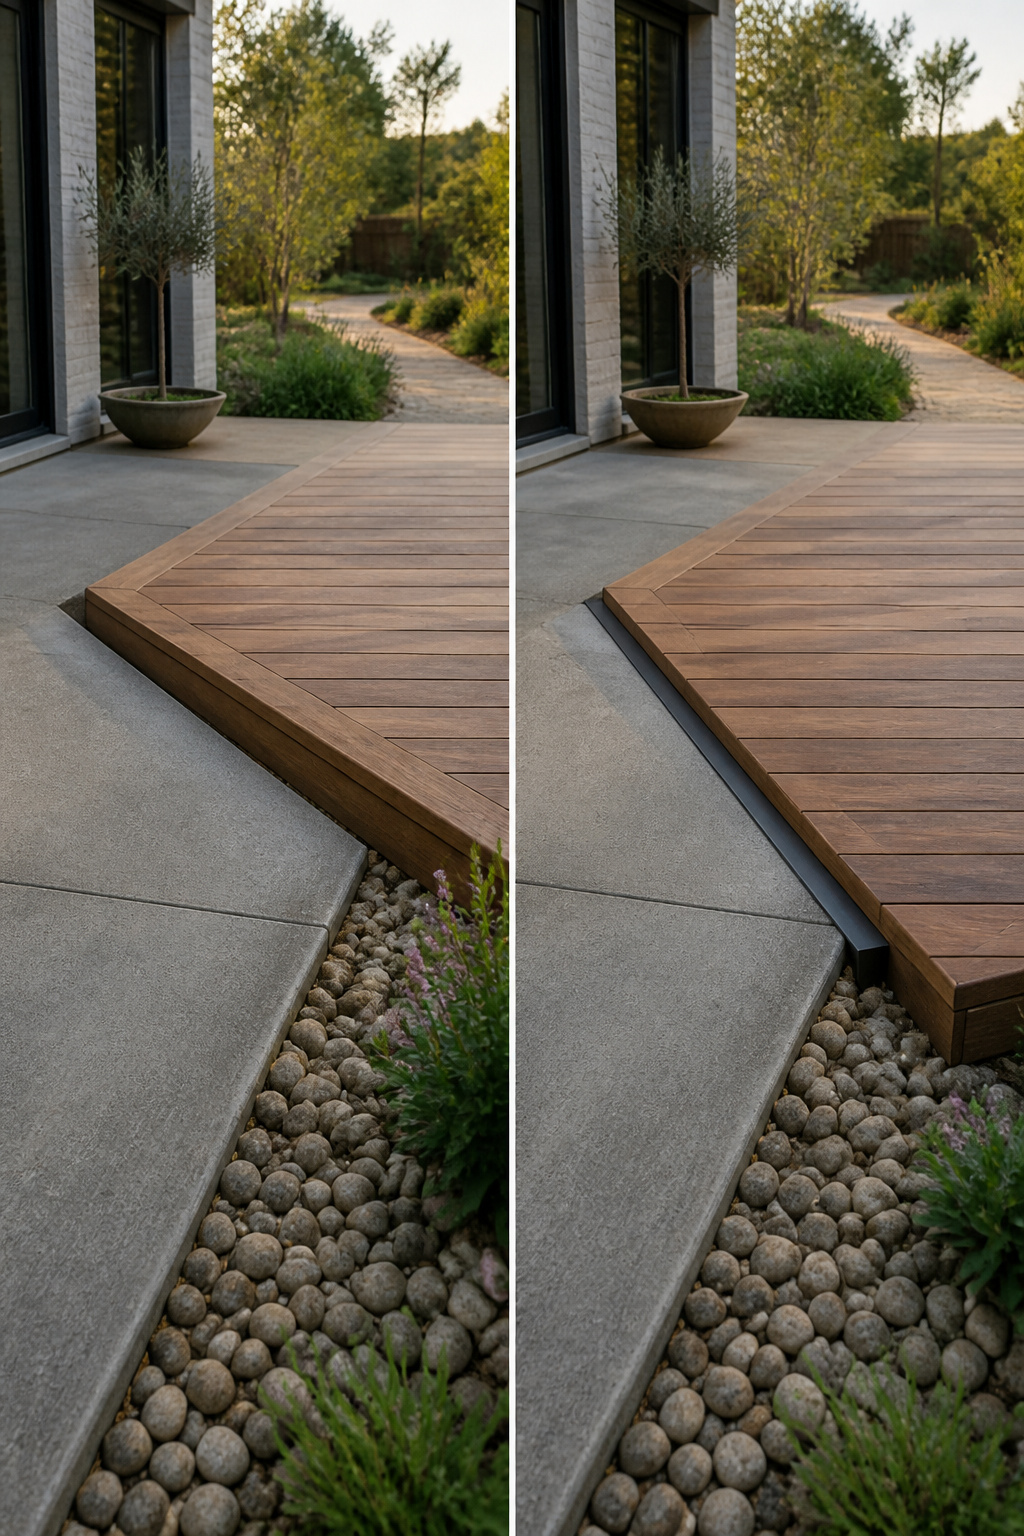
Most floating deck guides assume a blank slate of level lawn, which is not the yard most people actually have. Two variations worth planning for are the patio extension and the sloped site, and each needs a different footing strategy.
If you already have a concrete patio that simply stops too soon, the deck can grow directly out of it.
One approach I have seen work is a freestanding floating deck that butts against the existing slab without mechanically attaching to it.
The new frame needs its own support, but the deck surface steps down or stays flush depending on how thick your framing is.
An 8 foot by 12 foot patio extended another 8 feet gives you room for seating and a grill without tearing out what is already there.
Leave a gap or use a flexible flashing strip where the two surfaces meet, because the old concrete and the new wood will move on different schedules through the seasons.
For ground that is not flat, gravel will level rough but relatively even ground well enough for standard deck blocks.
Where the slope is steeper, adjustable pedestal systems exist that let you set each post height independently rather than stacking shims or digging terraces.
These are not the cheapest route, but they keep the frame level without the safety risk of tilting block stacks. Cost against excavation: if your slope is modest, gravel and standard blocks win.
If the yard drops more than a few inches across the deck footprint, pedestals or a professional assessment become the safer call.
Recommended Products

Durable and Heavy-Duty: Crafted from premium-grade steel, this ground tamper tool is built to withstand the rigors of tough compaction tasks. The sturdy construction ensures reliable performance for long-lasting use.

Durable Construction & Reliable Performance: The 8"x8" Steel Tamper with 48" Handle is crafted from premium high-grade steel and features a rust-resistant coating, ensuring long-lasting durability. Its solid steel head and all-steel handle are built to withstand demanding jobs, making it an essential tool for compacting soil, gravel, sand, and asphalt in gardens, yards, and driveways.

Industrial-Grade Carbon Steel Construction: This kit includes 1 hand tamper. Its heavy-duty 10 x 10 inch carbon steel base provides impact resistance. A rust-resistant coating ensures durability for even the toughest outdoor work. This reliable hand steel tamper combines strength, flexibility, and durability, making it suitable for a variety of applications including landscaping, horticulture, and construction
Frequently Asked Questions
Do I need a permit to build a floating deck?
You usually do not need a permit if the deck sits below 30 inches above ground and is not attached to your house.
Local rules vary, though; some towns measure from the highest adjacent grade rather than the lowest, which can push a low-looking deck into permit territory. Call your building department and check HOA rules before you start cutting lumber.
How long does it take to build a floating deck?
A handy homeowner can finish a typical floating deck in one to three days, depending on size, materials, and prior experience. A compact build spread across short work sessions might run closer to 15–20 hours total.
What materials do I need for a floating deck?
The core list includes concrete deck blocks, pressure-treated 2x8s for the outer frame, 2x6s for joists, and decking boards of your choice.
You will also need joist hangers, deck screws in two or three lengths, landscape fabric, and gravel for the base.
Can I build a floating deck on uneven ground?
Yes, but the slope drives your approach. Rough spots can be filled and tamped level; modest slopes are handled by setting blocks to different heights or cutting 4×4 posts to bring beams up flat.
For steeper drops, adjustable pedestal systems are safer than stacking blocks, and a professional assessment is worth the call if adjusting heights feels uncertain.
Are floating decks cheaper to build?
They are among the most affordable deck options because they skip poured footings, posts set below frost line, and the labor that goes with both.
A DIY 10-by-12-foot pressure-treated floating deck runs about $500 in materials, while professional labor would push any deck to $20–$60 per square foot.
What are common floating deck mistakes?
Skipping the permit check tops the list; ground-contact-rated lumber and proper drainage are often overlooked too.
Other frequent errors include joists spaced too wide, blocks set without tamped gravel underneath, and decking boards butted too tight so they buckle when the wood swells.
What type of wood to use for a floating deck?
Pressure-treated lumber is the standard for framing and decking, with ground-contact-rated 4x4s for any posts sitting on blocks. Redwood is available at a steep premium, around $35 per square foot.
Composite decking costs more upfront but shrinks lifetime maintenance; for a first deck you might replace in ten years, wood keeps the initial number manageable.