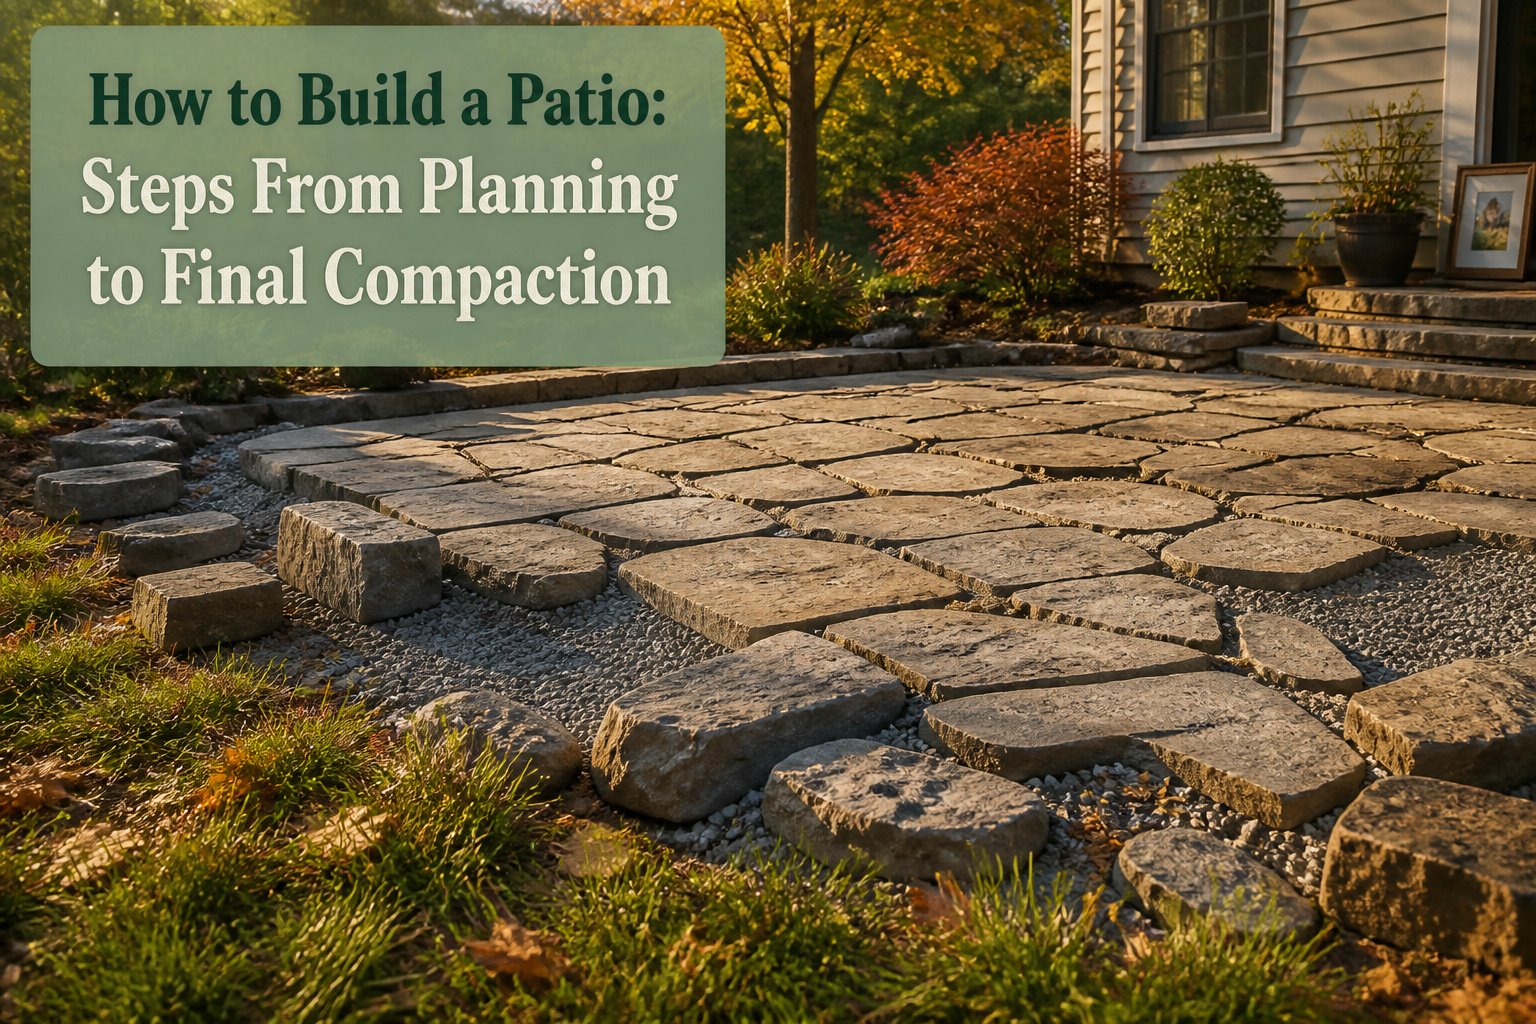
A finished patio costs a weekend of labor and about ten to twelve inches of excavation depth, but most fail two years later because the base was never properly compacted.
Dense graded aggregate with fines is the only material that locks together under a plate compactor; clean gravel falls apart in your hand, and if it falls apart in your hand, it will not hold under your patio.
The slope matters just as much: a quarter inch of fall per foot of run, carried through every layer, not fixed in the sand at the end.
1. Planning and Design

A patio starts with knowing what happens on it. Six people around a table needs roughly twelve feet across, but a two-chair morning coffee spot shrinks to half that.
Fire pits, seating walls, or a future grill station all eat space, and building right up to the property line now means tearing out edge restraint later.
I leave a buffer zone on at least two sides even when the budget only covers concrete pavers this year.
Slope the surface a quarter inch of fall for every foot of run, always away from the house. That works out to three inches across a twelve-foot patio, four across sixteen.
The grade goes into the excavation itself; every layer below carries that same angle. Bedding sand is not where you fix drainage after the fact.
At the low edge, water still needs somewhere to go once it sheds off the pavers. A perimeter that dumps into a berm just moves the puddle six feet outward.
Downspouts need their own path past the paved area; roof runoff washing across the surface is the fastest way to get a localized washout.
Recommended Products

Ideal For: Crusher Run, Sand, Soil and Block Paving Preparation.

Reinforced Material: plate compactor pad is constructed from a high density reinforced rubber composite; This material delivers consistent performance under repeated compression from heavy machinery; It maintains structural integrity during extended apply on job sites with abrasive surfaces; The composition provides resistance to tearing and wear over time; The product includes 1 rubber sheet, 2 galvanized plate clamps, and several screws
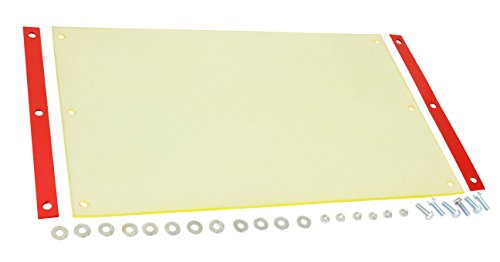
Thick and durable design prevents pavers from breaking or marring
2. Site Preparation

Clearing the grass and debris is the easy part; the real work starts when you check what is underneath.
I once assumed a patch was level because it looked flat, then found a three-inch dip near the foundation after rain pooled against the house. Now I run a long level and a string line before touching a shovel.
The standard excavation depth is 6 inches for a compacted base, though heavy clay soils need 8 inches to handle the load without shifting over time.
Total digging runs deeper once you add bedding sand and the pavers themselves, usually landing around 10 to 12 inches from the original grade.
Drainage is where a patio lives or dies. You need 1/4 inch of slope per foot of run, always pitched away from the house.
Across a 12-foot span that is 3 inches of fall; across 16 feet it is 4 inches. I set grade stakes every four feet and check with a line level, because eyeballing it always costs you later.
Tamp the exposed soil firm before the base material goes in. A hand tamper works for small areas, but a plate compactor saves hours and gives more even results on anything wider than a couple of patio stones.
Recommended Products

Professional Polymeric Sand for Pavers Ideal jointing sand for patios, walkways, driveways, pool decks, and stone installations

SRW Polymeric Sand for paver joints, patios, driveways, walkways, and retaining walls; fast-setting formula hardens with water to prevent shifting, erosion, weed growth, and ant infestations while creating long-lasting, professional-quality joints.

Fix Uneven Lawns – Fill low spots and smooth bumps for a cleaner lawn surface.
3. Base Installation

Dense graded aggregate is the only base material that makes sense for a patio that stays flat. The mix of crushed stone and fines locks together under compaction in a way that washed gravel or sand never will.
Clean stone shifts and ruts every time water moves through it; you will chase settlement cracks for years.
Six inches of compacted base handles standard residential patios. Heavy clay soils demand eight inches, because the ground underneath moves more and the base has to absorb that shift without transferring it upward.
The total excavation runs deeper once bedding sand and paver thickness are added, typically 10 to 12 inches down from grade.
Compaction matters more than the exact lift thickness. I run a plate compactor in passes that overlap by half, watching for the surface to stop settling under the machine’s weight.
Water the material lightly if it is too dry to bind; mud means you have added too much. The fines in dense graded aggregate act as the glue, but they need moisture to activate and density to set.
Recommended Products

[Universal Fit for Multiple Pipes]: Manually open the drain cover to fit 4" SCH 40, 4" SDR 35, 4" corrugated pipe. This drainage grate cover offers unmatched versatility—no other drainage grate or yard sewage pump emitter provides such robust compatibility [Patent Pending]

【Sturdy and Corrosion-resistant】: The angled slope drainage pipe is made of high-quality PVC hard pipe, which is strong, heat-resistant, not easy to crack, and can be used for a long time

Designed As An Alternative To Pop-Up Drain Emitters: Unlike pop-up drain emitters that rely on water pressure to open, this slope grate design allows continuous water discharge. Helps reduce issues where traditional emitters may stay closed or freeze in place.
4. Edge Restraint Installation

Edge restraint is the perimeter piece most people forget to budget for, and skipping it is the fastest way to turn a patio into a slow-motion landslide.
The restraint sits against the outer row of pavers and gets spiked straight into the compacted base, not into loose soil or the bedding layer you just screeded.
Spike spacing runs every 10 to 12 inches, which feels excessive until you watch frost heave try to push the field outward.
The restraint needs compacted base underneath it, which is why the excavation has to run past the paver edge on every side. A decorative soldier course or border row does not do this job; it is ornamental, not structural.
Once the field spreads, the perimeter has to come up entirely and be reset, because edge failure is not repairable in place.
I set the restraint before I lay a single paver so the boundary is fixed and I am not tempted to eyeball the last row.
Recommended Products

Premium Quality: This pavers plate tamper pad is crafted from high-quality materials that offer exceptional strength and wear resistance, ensuring that your pavers are more efficient, stable, quiet, and durable during the tamping process

Professional Machine - The self-propelled plate compactor has a 196cc/6.5HP engine, delivering 10 inch compaction depth of 2,500 lbs of compaction force and 5,500 vibrations per minute; Raising the density of loose dirt, soil, gravel, sand, asphalt and other media to form a strong & level foundation.

【COMPATIBILITY】 Compatible with WEN 56035T/M 212cc/7hp Plate Compactors. Replaces OEM Part #56035-047.
5. Bedding Layer

Sand is where a patio lives or dies. I lay one inch of coarse concrete sand across the compacted base, then pull a straight board across two parallel pipe rails to strike it flat in a single pass.
The rails stay the same diameter so the bed ends up even, and the board follows the slope rather than fighting it. After the screed comes off, I fill the grooves by hand and stop.
A footprint in finished bedding becomes a dip in the finished patio, so the rule is simple: nobody walks on it after it is struck.
Recommended Products

Suitable for driveways, walkways, and pool surroundings
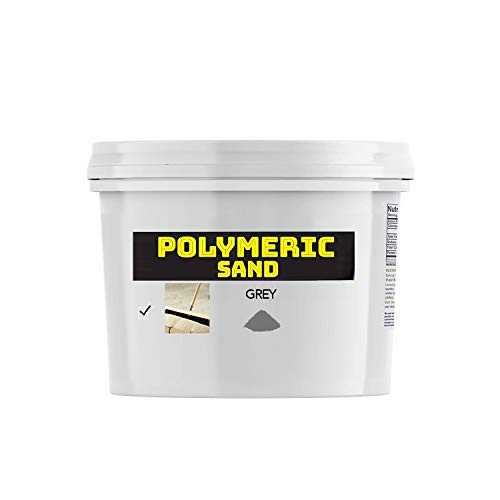
Can be used on false joint pavers

{ Lock your Masterpiece in Place } By applying polymeric paver sand in between paver joints, you are making sure that nothing comes through your beautiful patio and allows you years of stress free enjoyment!
6. Paver Placement

Most pavers sit at 2 and 3/8 inches thick, which is enough to handle foot traffic without wobbling.
Stone, brick, and concrete each carry that dimension differently; stone tends to vary slightly from paver to paver, while concrete units come out of the mold almost identical.
I prefer that consistency when I’m working a running bond pattern, since the eye catches unevenness fast on straight lines.
Laying them tight matters more than the pattern you choose. I tap each paver against its neighbor with the handle end of a rubber mallet, listening for the hollow clack that means the bedding sand hasn’t fully compacted underneath.
A low spot here will telegraph through in a season, so I keep a level handy and check every fourth or fifth stone across both directions.
The pattern itself is mostly a decision you make before you open the first pallet. Herringbone locks together well on driveways where cars turn; basketweave or running bond works fine for a patio that only sees feet and grill carts.
I lay dry first, working from two or three pallets at once so the color variation blends rather than bands. Only after I’ve stepped back and checked the edges do I start the final setting.
Recommended Products

【2PCS Large Capacity】: The 4-inch yard drainage emitter surface is smooth and the beveled design makes the water flow smoother and can be used with the slope of the soil. Measure the diameter of the pipe mouth before purchasing

Unique dripper/emitter features a built-in check valve to eliminate wasteful drainage on slopes
7. Joint Filling

Polymeric sand hardens when wet, locking pavers together and keeping weeds out for years. Regular joint sand stays loose, so it washes out easier and lets seeds settle in.
Polymeric sand costs more upfront and sets firm, which makes future repairs or releveling harder down the line. For a small patio you plan to keep as-is, the hardened joint is usually worth it.
For something experimental or temporary, loose sand leaves you wiggle room.
Sweep the sand in dry, work it into every gap with a push broom, then run the plate compactor once more over the surface to vibrate the grains down tight.
After that first pass you’ll see joints sink half an inch or more; top them off and compact again. With polymeric sand, the final step is a light, even watering that activates the binder without washing the fill back out.
Too much water too fast puddles the polymer on top of the pavers and leaves a haze that takes serious scrubbing to remove. A gentle mist, let it set, then another.
The joint should feel solid by the next morning.
Recommended Products

Durable and Heavy-Duty: Crafted from premium-grade steel, this ground tamper tool is built to withstand the rigors of tough compaction tasks. The sturdy construction ensures reliable performance for long-lasting use.

POWERFUL 6.5HP / 196CC GAS ENGINE – Built with a dependable 196cc gas-powered engine that delivers strong vibratory compaction performance for demanding residential, landscaping, paving, and construction projects.
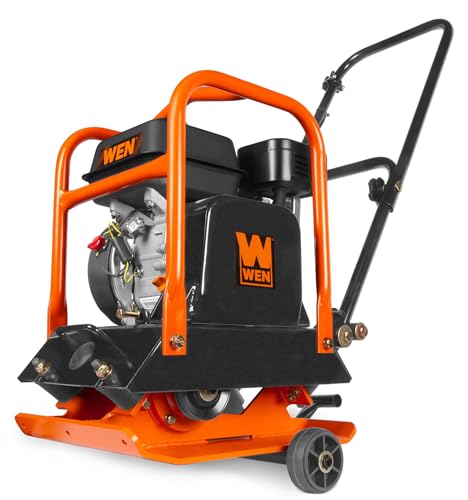
196cc engine creates up to 3350 pounds of force at 5700 blows per minute
8. Final Compaction

The plate compactor is the tool that finally makes your patio feel like a patio instead of a pile of loose stones.
I rent one for the afternoon, usually from the same yard that sold the pavers, and run it over the surface in overlapping passes.
The machine shakes the bedding layer up into the joints from below and settles each paver firmly against its neighbors. You will see the surface drop slightly, maybe an eighth of an inch, as everything seats together.
Sweep joint sand across the top before the first pass so the vibration drives it down between the stones.
Dry sand works better than polymeric for this initial compaction; the polymeric stuff activates with moisture and can clump before it has settled deep enough.
After two or three rounds with the compactor, sweep more sand in and run it again until the joints stay full.
Check with a long level laid across the diagonals. Any paver that sits proud will telegraph underfoot for years, and the compactor will not fix a high spot once the joint sand has locked.
Tap those few down with a rubber mallet and a scrap of wood before the final pass. The surface should feel solid when you walk it, with no rocking or click under your heel.
Recommended Products
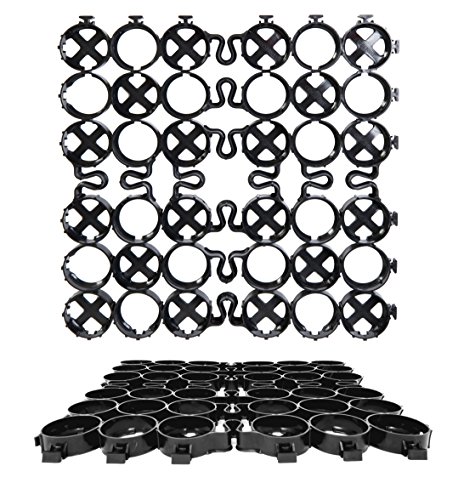
EASY TO USE: Our lightweight permeable pavers are easy for any level of DIYer to install; Feel proud of your own outdoor home improvements!

Can be used on false joint pavers

Paver Types and Patterns

Stone pavers carry the weight and variation of real rock, which means no two pieces match exactly. That irregularity is the appeal, but it also limits the running-bond and herringbone patterns that need uniform dimensions to lock together.
Brick pavers, made from clay and shale, keep their warm, earthy tones for decades because the color runs through the material rather than sitting on top. The palette stays narrow: light, moderate, and darker earth tones, nothing outside that range.
Concrete pavers solve the color problem with wider variety, though the trade is surface wear; the pigment layer is thin, and heavy traffic or poor drainage will expose the gray body beneath.
The pattern choice matters structurally more than most people expect. Running bond and herringbone interlock pavers against each other, which helps the surface bridge small shifts in the bedding sand below.
Stack bond, where joints align in straight rows both directions, looks clean but offers no interlock; it is better saved for concrete slabs that are one continuous pour.
| Attribute | Stone Pavers | Brick Pavers | Concrete Pavers |
|---|---|---|---|
| Color range | Natural variation | Light to dark earth tones only | Wider manufactured range |
| Color durability | Permanent | True color remains long-term | Surface layer; body is gray |
| Pattern flexibility | Limited by irregular sizing | Standard patterns | Standard patterns |
| Interlock strength | Moderate | High | High |
Tools You Actually Need

A plate compactor rents for about $75 a day and saves your back on any patio larger than a couple pallets of pavers.
For smaller jobs, a hand tamper works, though the compaction will not be as even and you will feel it in your shoulders.
Here is what actually matters on the tool list:
- Hand tamper or plate compactor for compacting the base and again after the final sweep of joint sand. The plate compactor is worth the rental once you are over about 100 square feet.
- Screed board for leveling the bedding sand. A straight 2×4 cut to span your frame rails, used with a back-and-forth sawing motion, gets the sand flat to within an eighth of an inch. I have tried eyeballing it. The eyeballing was wrong.
- Wet masonry saw with diamond blade for cutting pavers. It gives the cleanest edge and suppresses most of the silica dust that concrete cutting throws up. The wet blade is the right choice here, not an angle grinder, unless you are doing only a handful of cuts. Even then, the grinder is slower, harder to keep straight, and far dustier.
- Dust mask, eye protection, ear protection any time you are cutting. Wet cutting controls most dust, but not all of it. Silica is not a risk to take casually.
- Masonry splitter or guillotine if you want a rougher, rustic edge on tumbled pavers. Fast and quiet, though the cut is not as clean as the saw.
Mark every paver that needs cutting, set all your full pavers first, then cut the perimeter in one session rather than piece by piece. The work moves faster and the layout stays truer.
Base Material and Drainage

Dense graded aggregate with fines, sold as road base or 53s in Indiana, is the material that actually holds under a patio.
The angular stone in mixed sizes plus the fines between them lock together when compacted, forming a solid base that carries load and resists shifting.
Clean or washed gravel fails this test because the round, uniform stones never lock up; they shift under load forever, and pea gravel, while it drains well, offers zero structural value beneath pavers.
Sand belongs only in the bedding layer, not the base, since it migrates and ruts under any real weight.
The drainage slope matters as much as the material choice. A patio needs to shed water at roughly 1/4 inch per foot of run, sloped away from the house.
Without this fall, water pools, freezes, and works the base loose from underneath.
The same fines that let the aggregate compact into a monolithic layer also help direct water to that slope rather than letting it percolate straight down and undermine the edges.
Names for the right material vary by region and supplier, so asking for "base material graded for interlocking pavers" and confirming it contains fines beats guessing at local terminology.
The squeeze test works anywhere: damp dense graded aggregate holds together in your hand, while clean gravel falls apart. If it falls apart in your hand, it will not lock together under your patio.
Mistakes That Undo the Work

The base is where most patios fail, and the failure usually shows up two years later as a dip you notice after rain. A plate compactor is not optional here.
I watched a neighbor hand-tamp his entire base, working carefully in lifts he thought were thin enough, and by the second spring his pavers had settled into a bowl that held water every time the sky opened.
Hand tamping cannot reach the density a base needs. No amount of care in the bedding sand or the paver pattern above compensates for a base that was never properly compacted.
The wrong rock matters just as much. Clean or washed gravel, the round uniform stone with no fines, never locks up and shifts under load forever.
Pea gravel is worse: excellent drainage, zero structural value. Sand as a base layer migrates and ruts.
The test is simple. Squeeze a handful of damp material.
Dense graded aggregate, the right kind with fines mixed in, holds together because of those fines. Clean gravel falls apart in your hand, and if it falls apart in your hand, it will not lock together under your patio.
Drainage failures hide even longer. Water that cannot move through the base freezes, expands, and heaves the whole surface.
Spot this early by checking grade after each lift with a string pulled across the excavation. Correcting grade in the base is easy.
Correcting it in the bedding sand is not possible.
What Comes After the Build

A patio left alone will settle and shift, but the fixes are small if you catch them early.
I sweep joint sand back in after heavy rains, the same polymeric sand I swept in during the build, and mist it lightly so it resets. It takes ten minutes and keeps weeds from colonizing the gaps.
Frost heave is the thing that actually breaks pavers, not the walking you do on them. In spring I check for lifted edges or a dip where water pooled and froze.
A few whacks with a dead-blow hammer and a dusting of fresh bedding sand usually levels them. I do not seal my pavers; the wet-look products I tried years back peeled within two seasons and trapped efflorescence underneath.
Plain water and a stiff brush handle stains fine.
The real maintenance is watching the base. If the patio starts draining toward the house instead of away, the whole base has failed, and spot fixes are a delay, not a cure.
That is the signal to pull it up and rebuild properly, which is why the grading step matters more than anything that comes after.
Frequently Asked Questions
What is the best base material for a paver patio?
Dense graded crushed aggregate containing fines is the right choice. The mix of angular stone sizes plus fines locks together under compaction, forming a solid base that carries load without shifting.
Clean or washed gravel and pea gravel fail because they have no fines to bind them. Ask your supplier for base material graded for interlocking pavers and confirm it contains fines.
How deep should a paver patio base be?
Six inches of compacted base handles a standard residential patio. Heavy clay soils need eight inches because the ground underneath moves more.
Total excavation runs 10 to 12 inches down from the original grade once you add bedding sand and paver thickness. Tamp the exposed soil firm before the base material goes in.
Do I need gravel under patio pavers?
Yes, you need a compacted aggregate base, not just any gravel. Dense graded aggregate with fines is the specific material that works.
The angular stones and fines lock together under compaction to create a structural layer. Clean gravel, pea gravel, or sand alone will shift, rut, or migrate under the weight of foot traffic and freeze-thaw cycles.
How much slope does a paver patio need for drainage?
A quarter inch of fall for every foot of run, sloped away from the house. That equals three inches across a twelve-foot patio, four inches across sixteen feet.
The grade goes into the excavation itself, and every layer below carries that same angle. Set grade stakes every four feet and check with a line level rather than eyeballing it.
What is the best way to cut patio pavers?
A wet masonry saw with a diamond blade gives the cleanest edge and suppresses most silica dust. Mark every paver that needs cutting, set all full pavers first, then cut the perimeter in one session.
A masonry splitter works for rougher, rustic edges on tumbled pavers if you prefer that look. Use a dust mask, eye protection, and ear protection any time you are cutting.
How much would a 20×20 patio cost?
Your best approach is to price out pavers, base material, bedding sand, edge restraint, and tool rentals locally, then add roughly 10 percent extra for cuts and breakage.
What’s the cheapest way to build a patio?
The steps described use standard materials and techniques intended for a durable, long-lasting surface rather than the lowest possible upfront cost. Cutting corners on base depth, compaction, or edge restraint typically leads to expensive repairs within a few years.
What should I put under patio slabs?
Dense graded aggregate with fines, compacted to six inches for standard soils or eight inches for heavy clay. This base material locks together under a plate compactor to create a structural layer that prevents shifting and settlement.
On top of that goes one inch of coarse concrete sand as a bedding layer, screeded flat before you place the pavers.
How much does it cost to build a 10×10 patio?
Prices for a 10×10 patio depend heavily on your paver choice, local material costs, tool rentals, and whether you do the excavation yourself.
Get quotes from local suppliers for pavers, base material, sand, and edge restraint, plus a plate compactor rental, to build your own estimate.